
Additional Language Support for Stocks and Geography Data Types
25 June 2020
If you are presently subscribing to the Beta channel of Microsoft 365 (for either Windows or MacOS), then you have a 50% chance of finding that with the latest update you now have limited additional language support for the Stocks and Geography Data Types. Please note that additional language support for Excel on the Web will be “coming later”.
Whilst it’s true that the Stocks and Geography Data Types have been available for some time, they have only been available in English (i.e. to customers who have English as an editing language in their workbooks). That’s now changed as these two Data Types have now been propagated to a broader audience by Microsoft now supporting Stocks and Geography in French, German, Italian, Portuguese and Spanish.
You will have access to any Data Type that is supported by one or more languages chosen in your authoring language settings. For English, Spanish, French, German, Italian, and / or Portuguese, this includes both Stocks and Geography.
You can ensure data types will be created in the language you want by setting it as your preferred authoring language:
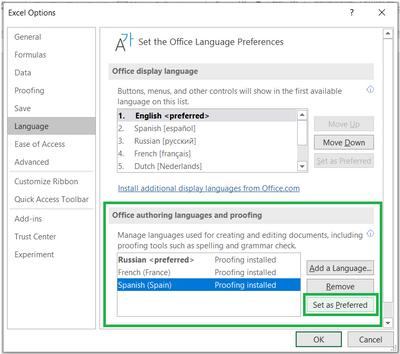
- for Office on Windows, you can change this setting in File -> Options -> Language. Under ‘Office authoring languages and proofing’, select the language you want and then select ‘Set as Preferred’
- for Office on MacOS, you can configure this by going to the Apple menu, choosing System Preferences -> Language & Region, and set the desired language to be your preferred language by dragging it to the top of the ‘Preferred languages’ list.
Be aware, whichever platform you use, you may have to restart Excel twice after making a change to your language settings to ensure the Data Type service registers the change.
After you have configured your language settings, it’s pretty straightforward. Simply start by typing text in a cell, such as the name of a city or country for geographic data, or a ticker symbol for stock data. Just make sure you type your text in the language you want to be using for the Data Type!
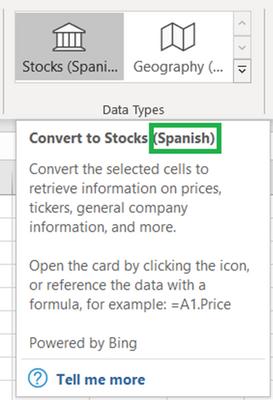
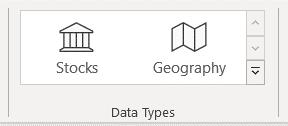
We’ve explained how to use these >Data Types before. Select your cells containing text and go to the Data tab in the Ribbon. There, you will see the relevant buttons in the ‘Data Types’ group. Select the button corresponding to the Data Type you want to create:
Mine is English because I only speak two languages, English and Profanities. You will see that the text for these buttons will match your Office display, although the Stocks and Geography buttons will still look similar.
If you configure your settings so that your preferred authoring language is not supported for a Data Type, but a supported language is included in the list, the data types created will fall back to using one of the supported languages.
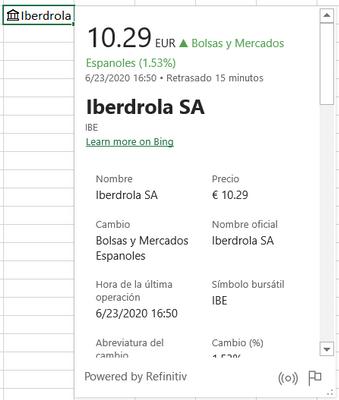
After you have converted the selected text into the Stocks or Geography Data Types, an icon will appear in the cell. If you click on the icon, you will see the associated card:
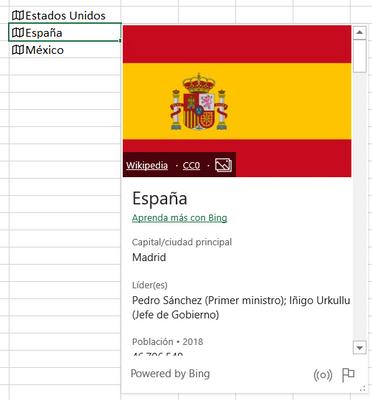
The card reveals a list of fields and corresponding values. The point is, you will be able to see that the field names and values are created in the configured language.
Data Types will persist in the language that they were created in. Therefore, be careful: changing your language settings and performing a data connection refresh of the data will not change the display name, field name or field values in the Data Type.
Fields like Nombre, Precio and Población are the “buckets” of information that make up the Data Yype. When a Data Type has been created in a certain language, it means that all the field names and field values for that Data Type are forever in that language.
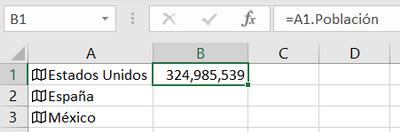
You can use these field names as identifiers in formulae and calculations using the already establish dot notation. For example, the formula
=A1.Población
uses dot notation after referencing cell A1, then using a period, followed by the field name. This will result in the formula evaluating, and the field value being shown in the cell.
Another way to insert a field into the workbook is by using the ‘Insert Data’ button on the card, on a cell or next to a table.
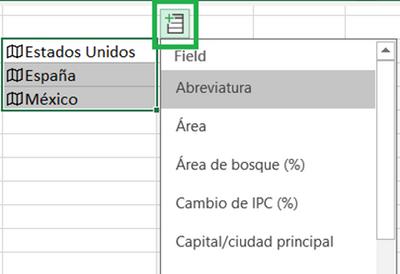
Just remember, the Data Type will persist in the language it was created in!