Power BI Blog: Access-ible Returns Part 2
5 August 2021
Welcome back to this week’s edition of the Power BI blog series. This week, we continue our Access-ible series of Blogs.
Last week, we narrowly avoided a processing nightmare by deciding not to remove duplicates after we merged CUSTOMCGIDS2016 and vartable16.

We explained that for such a large dataset, we need to remove duplicates before the merge. To do this, we need to create a copy of vartable16. There is more information on the types of copies that can be created in two of our Power Query Blogs: Power Query: Durable Duplicates and Power Query: Reliable References. In this case we will be making a Reference copy of vartable16. We do this by right-clicking on the query and selecting Reference:

This creates a new query which uses vartable16 as its source. This means that any changes to vartable16 will be applied to this query too. We rename this query Table Names.

We only need the columns TableName and TableTitle. We select both columns and then right-click on one of the column headings to ‘Remove other Columns’.

This leaves us with the two selected columns. We can then use ‘Remove Rows’ from the Home tab.

This will quickly give us a more compact table, which we will use to map the current table names to more descriptive names.

Back in the CUSTOMCGIDS2016 query, we will delete the ‘Merged Queries’ and ‘Expanded vartable16’ steps. We can do this by selecting the ‘Merged Queries’ step and then right-clicking to ‘Delete Until End’.

We can then choose ‘Merge Queries’ from the Home tab again: this time we are merging with Table Names.

This gives us a new column of tables called Table Names:

We expand the table data using the icon next to the column title:

This gives us a list of tables with their original name in Item and our preferred name in TableTitle.

We can filter on Item to see the expanded name for this table.

Now for the frustrating part. We can’t currently change the name of the query using M code. We now need to enter the new table name manually.
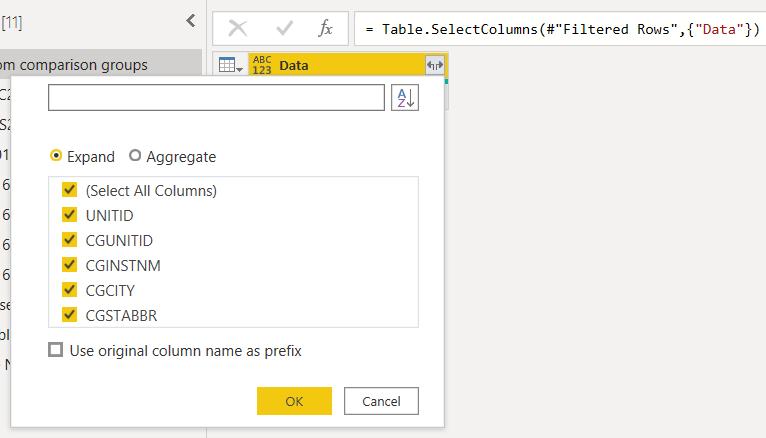
Having changed the query name, we now need to access the columns. We can do this by selecting Data and ‘Removing Other Columns’. Then we expand the table data in Data.

We want all the columns. We can rename them later – and we will not be doing that manually!

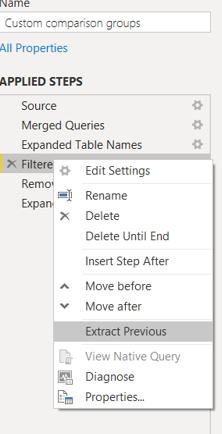
We did say that we could use the steps here for the other tables. To do this, we select ‘Filtered Rows’ and right-click.

We have an option to ‘Extract Previous’ which is another way to create a Reference query.

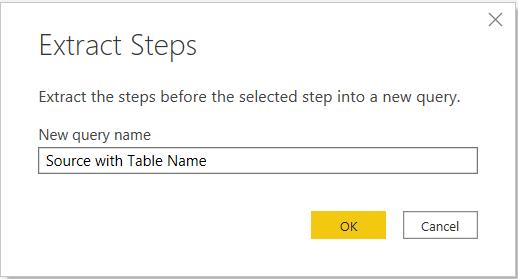
We call the new query Source with Table Name, as we will be using this for the other tables to see the expanded name. Custom comparison groups now references the new query.

We can now use Source with Table Name as the source for the other tables. We will use DRVIC2016 as an example. We can change the Source step to look at Source with Table Name: M Intellisense helps us.

We delete the Navigation step as we will be expanding the data after we have filtered. We filter on the results to get the expanded name for DRVIC2016:

This time, we will use part of the full title! We call the table Total cost of attendance. Now it’s the same process that we used for Custom comparison groups: we remove all columns other than Data, and expand Data to get all the columns.
We can now repeat this process to get useful names for all the tables. Next time, we’ll look at renaming the columns.
Check back next week for more Power BI tips and tricks!

