Power Query: Join or List – Part 2
7 December 2022
Welcome to our Power Query blog. This week, I continue comparing alternative approaches to extracting data from another table.
I know you’ve missed them: my imaginary salespeople are back! They are going to help me compare alternative approaches to pulling in data from one query to another, namely merging and using list functions. There are two examples that I am going to use in this series. The first example, and the simplest, is exact matching. Later in the series I will also look at approximate matching.
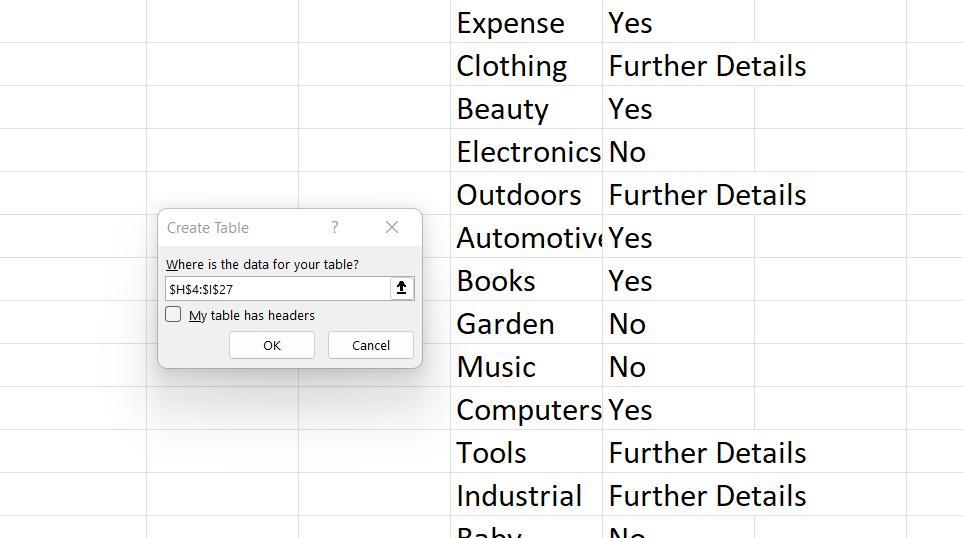
I have two tables. The first is a list of item types that my salespeople have been putting under ‘Personal’ on expenses. The second is a list indicating which are allowed and which are not, and any that require further information.
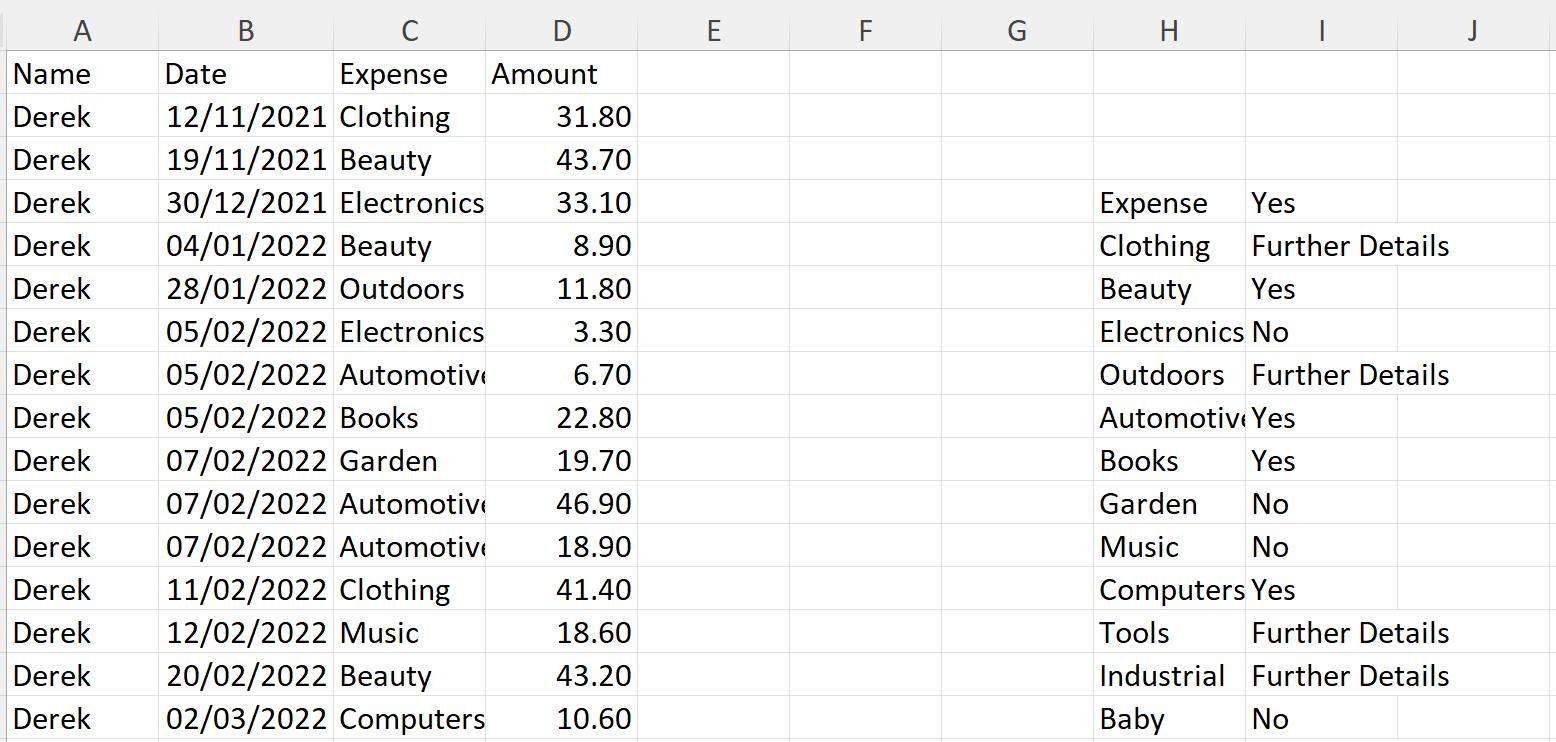
I extracted both sets of data into Power Query by using the ‘From Table/Range’ option in the ‘Get & Transform’ section of the Data tab, one set at a time:
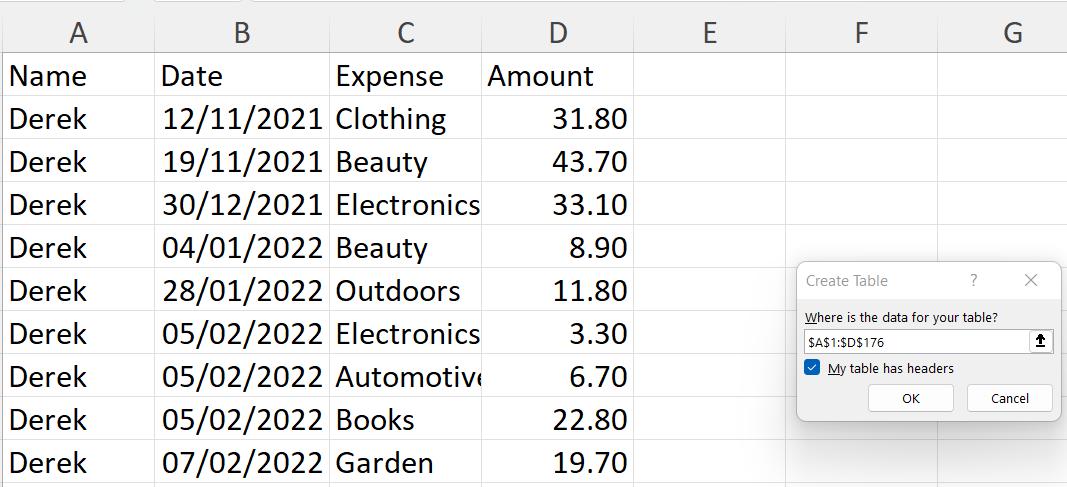
To begin with, I chose to ‘Close & Load To’ from the Home tab in the Power Query editor to trigger the ‘Import Data’ dialog:
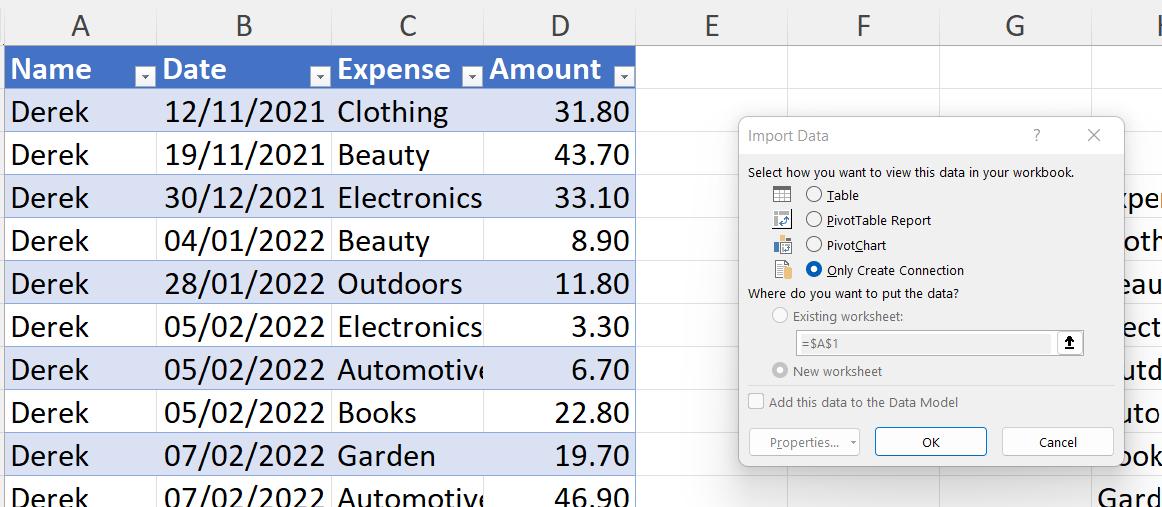
I chose to ‘Only Create Connection’, and loaded the other set of data:
This gave me two queries, which I renamed to Expenses and Permissions.

Last time, I merged the queries to get the following result:

This time, I will use the List functions to achieve the same result. Of course Expenses and Permissions are tables, not lists, but each column in those tables can be thought of as a list.
This approach is similar to using VLOOKUP (or as Liam would prefer, INDEX MATCH) in Excel (actually, Liam would even prefer using a cheese grater to scratch an itch – Ed.). I am going to create a column in Expenses which looks up the Expense on Permissions and returns the data in Column2.
I start with a new query of the expense data (since last week I added a new column to Expenses). This query is called ExpensesList.

This time, I am going to add a new ‘Custom Column’ to ExpensesList using the option on the ‘Add Column’ tab. I can use Intellisense to help me create the M code:
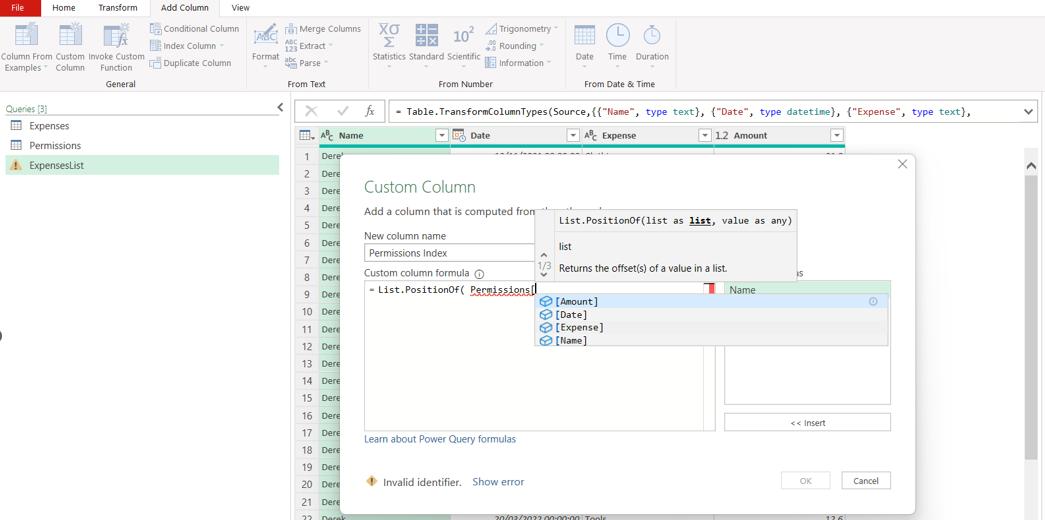
The column I have created will locate the matching Expense on Permissions.
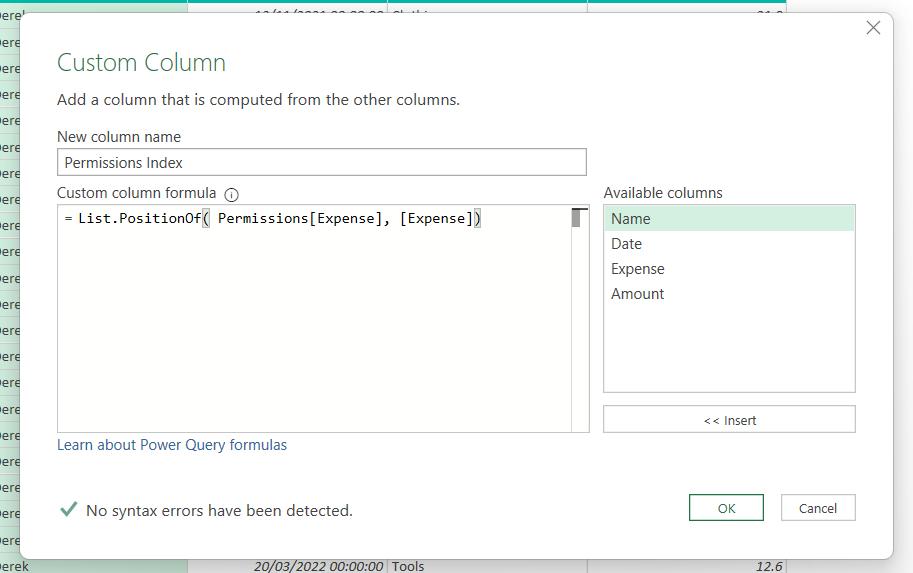
The M code is:
= List.PositionOf(Permissions[Expense], [Expense])
List.PositionOf() has the following syntax:
List.PositionOf(list as list, value as any, optional occurrence as nullable number, optional equationCriteria as any) as any.
This returns the offset at which the value appears in the list, or returns -1 if the value doesn't appear. An optional occurrence parameter can be specified to determine the maximum number of occurrences to report.
This gives me the following results:

Now, I have the index, I need to bring the data in using that index. I create another ‘Custom Column’:
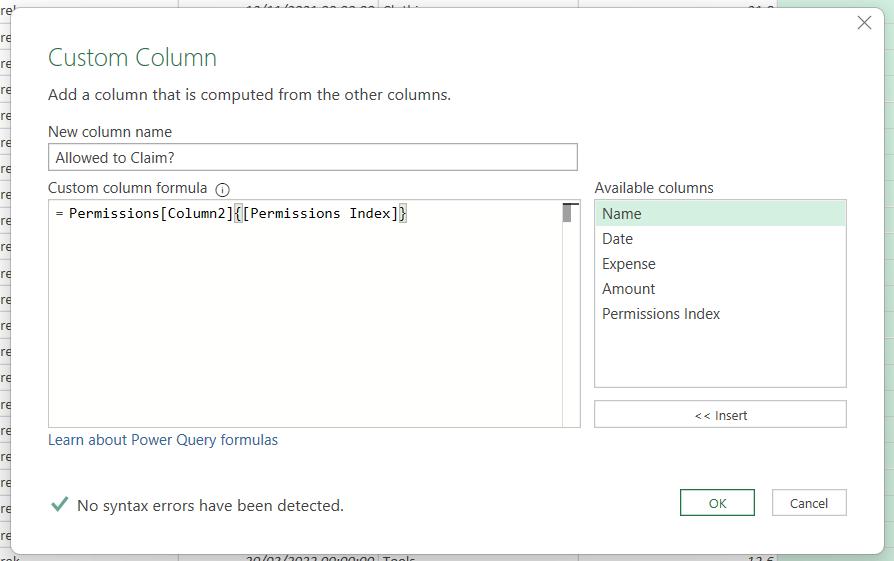
The M code is:
= Permissions[Column2]{[Permissions Index]}
This is extracting the information from Column2 at the position indicated by Permissions Index. This gives me my result:

I can remove Permissions Index as I don’t need it in my final table, and change the data type of Allowed to Claim? to text. Note that I could have combined the M code for the two Custom columns into one step:
= Permissions[Column2]{ List.PositionOf(Permissions[Expense], [Expense])}
I stepped it out here to make it easier to follow.
Now I can see that the results are the same:

Note that for ExpensesList the dates have remained in chronological order. I can do the same for the Expenses query by buffering the Expenses table before extracting the data from the merged table:

To do this, I have changed the ‘Expanded Permissions’ step:
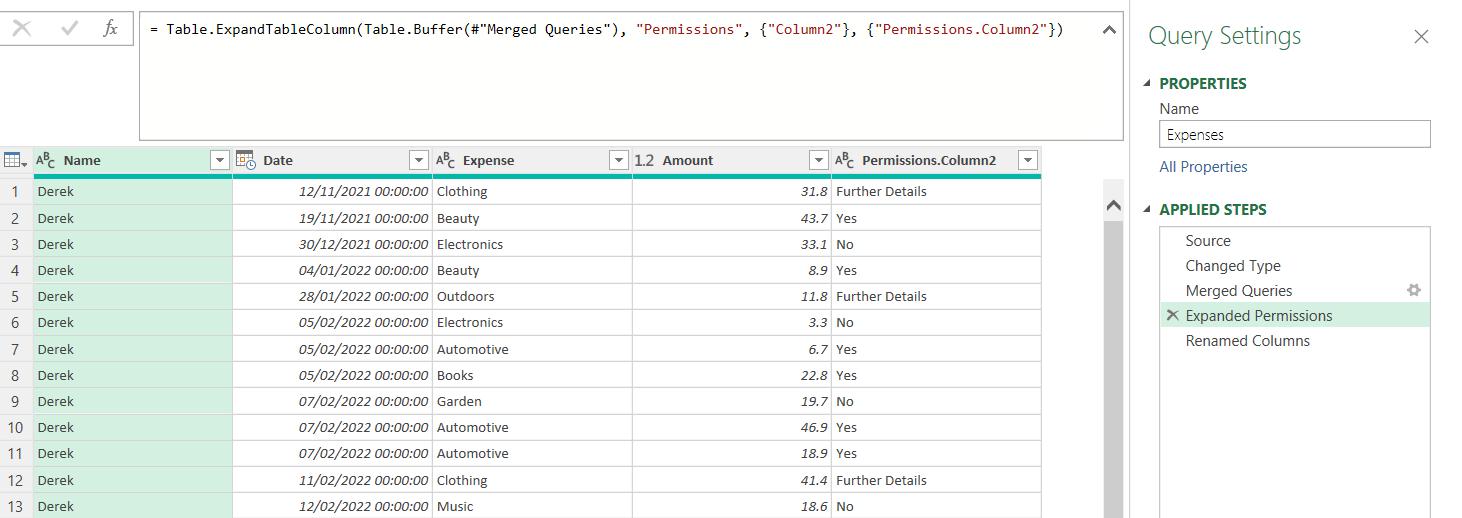
The M code is now:
= Table.ExpandTableColumn(Table.Buffer(#"Merged Queries"), "Permissions", {"Column2"}, {"Permissions.Column2"})
By using Table.Buffer(), I have preserved the order from the previous step, ‘Merged Queries’. Now the results are identical!
Next time, I’ll look at an example with an approximate match.
Come back next time for more ways to use Power Query!

