
Power Query: Calendar Creation – Going for Dates
19 April 2017
Welcome to our Power Query blog. Last time I set up the tools that I will use to create a calendar – today I will populate my calendar and add some useful columns.
As I described in Calendar Creation – Preparing for Dates building a calendar using Power Query is a collaboration between Excel and Power Query. The four steps are:
- Create a table called Parameters in an Excel Worksheet to hold the calendar boundaries
- Create a function fnGetParameter which uses the calendar boundaries as its parameters
- Build the basic dynamic calendar framework
- Add any required calendar columns.
Having created Parameters and fnGetParameter last time out, this time I will concentrate on the last two steps: building my calendar framework and adding useful columns.
Build Calendar Framework
Now I have set up my parameters and created a function to extract the values, I can begin to build my calendar.
In the worksheet I created last time, I will start by creating another blank query, following the same procedure as before, and this time I will call it Calendar: The process I follow to create my calendar framework is to build a list of dates between the two parameters that I have specified.
I begin by entering a simple list in the formula bar:
= {1..10}
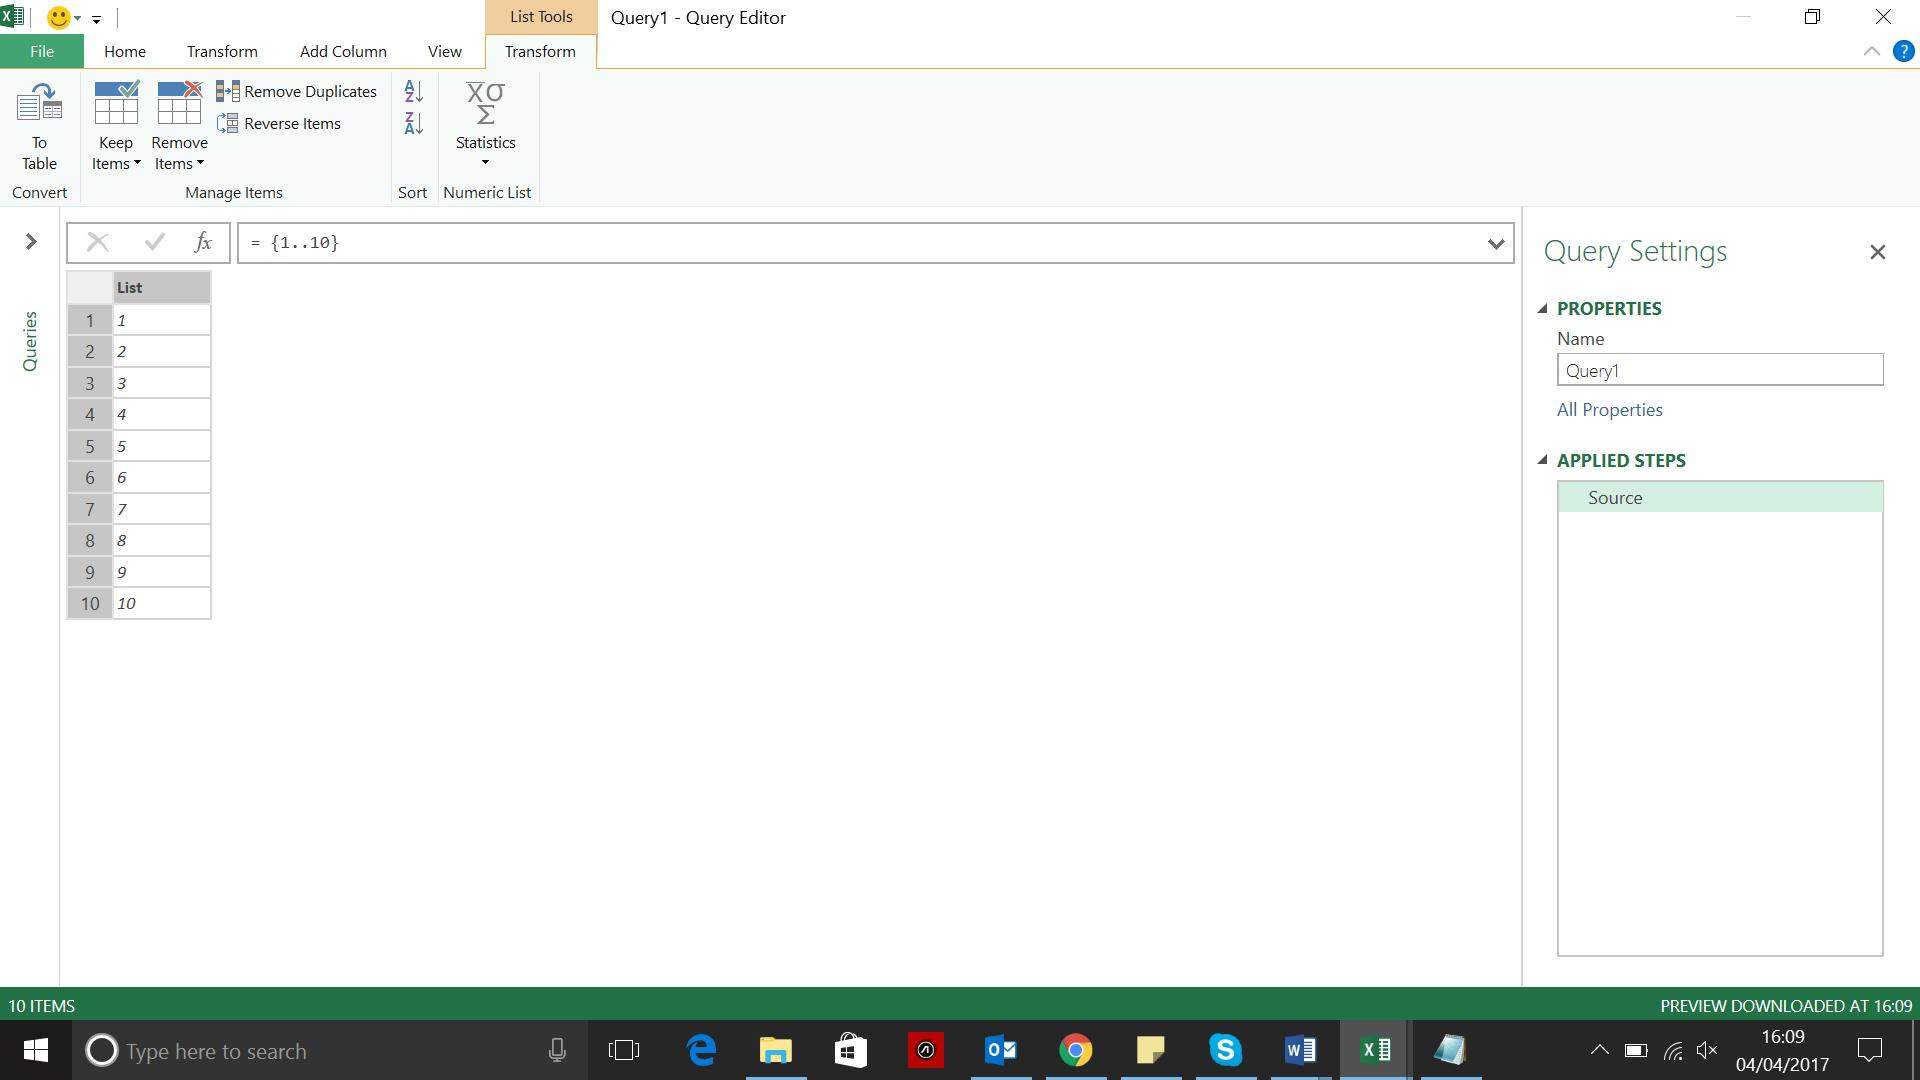
As shown above, this gives a column of 10 numbers, which I can prepare for calendar format by transforming. Notice that Power Query automatically presents me with options for transforming a list.
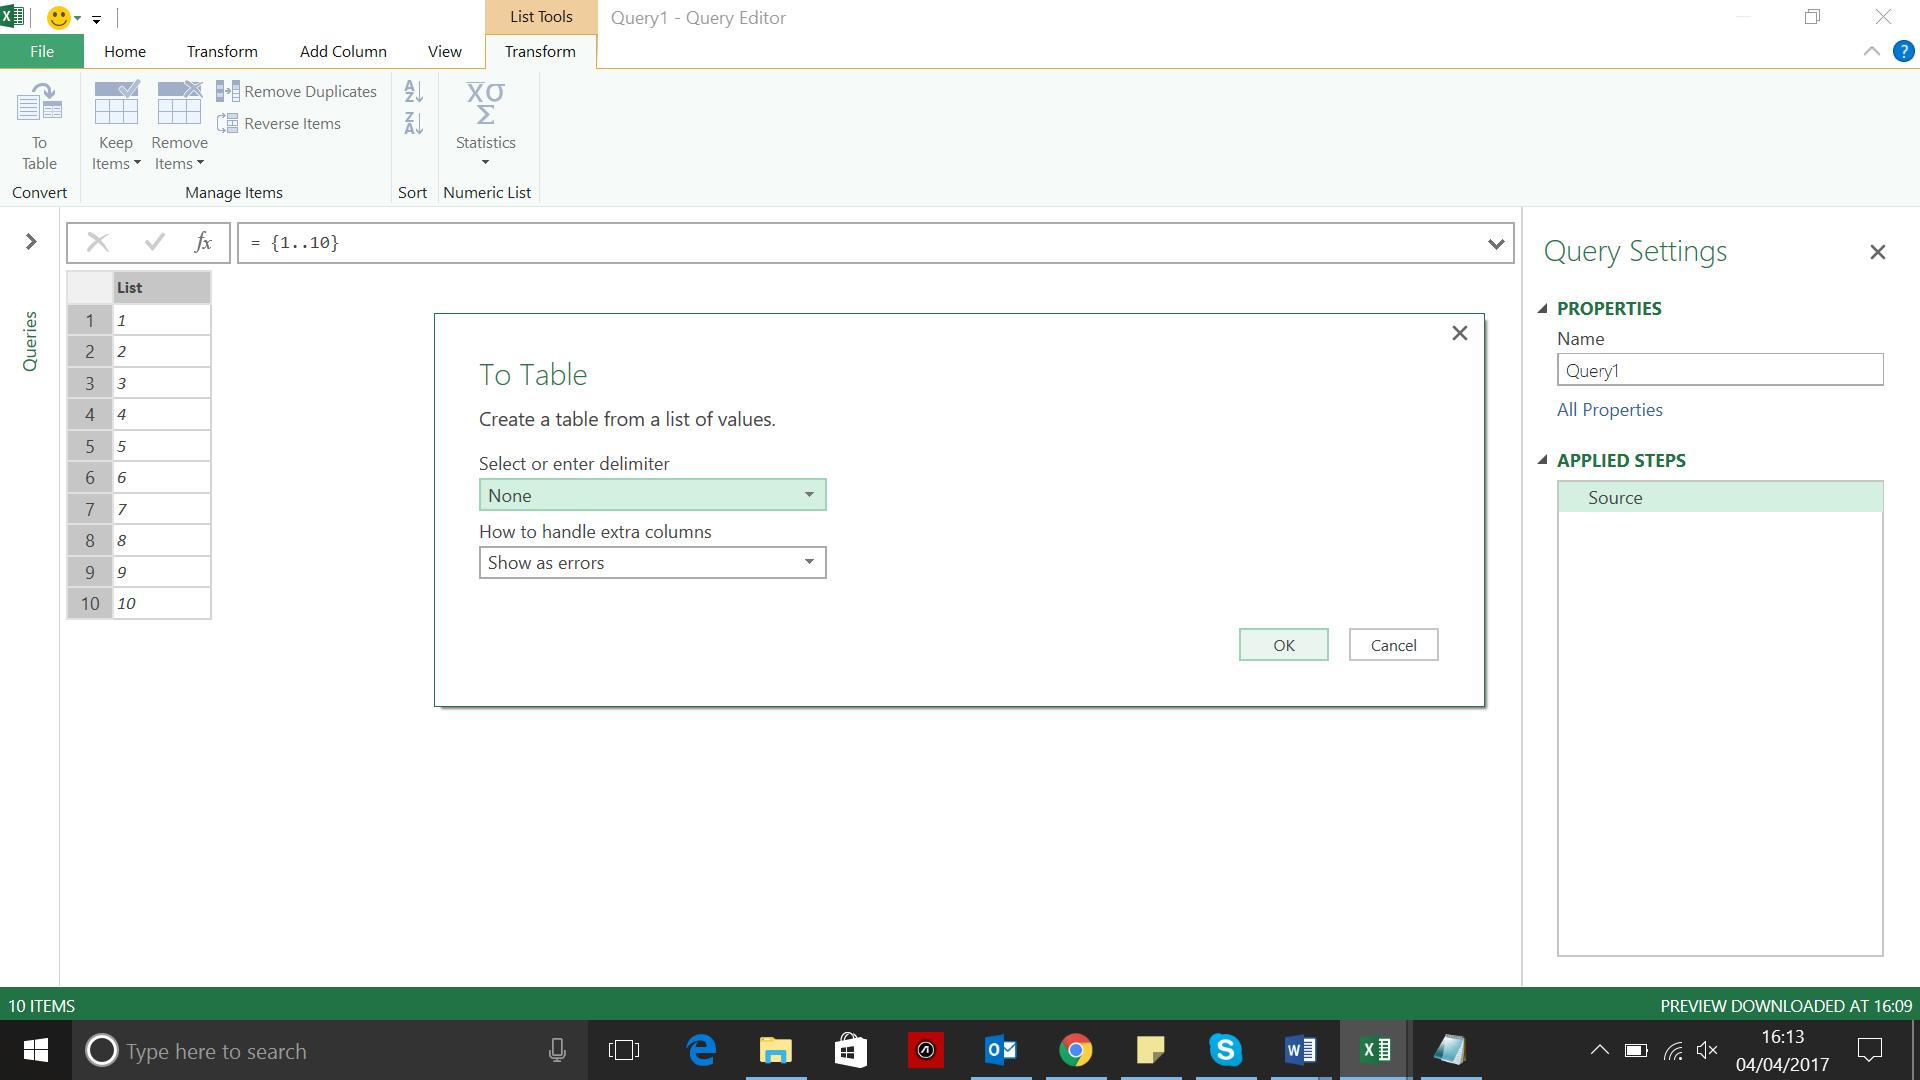
In the ‘Convert’ section I choose to convert my list ‘to Table’, and take the default options:
In the resulting table I right click my column and ‘Change Type’ to ‘Date’, and then rename my column Date.
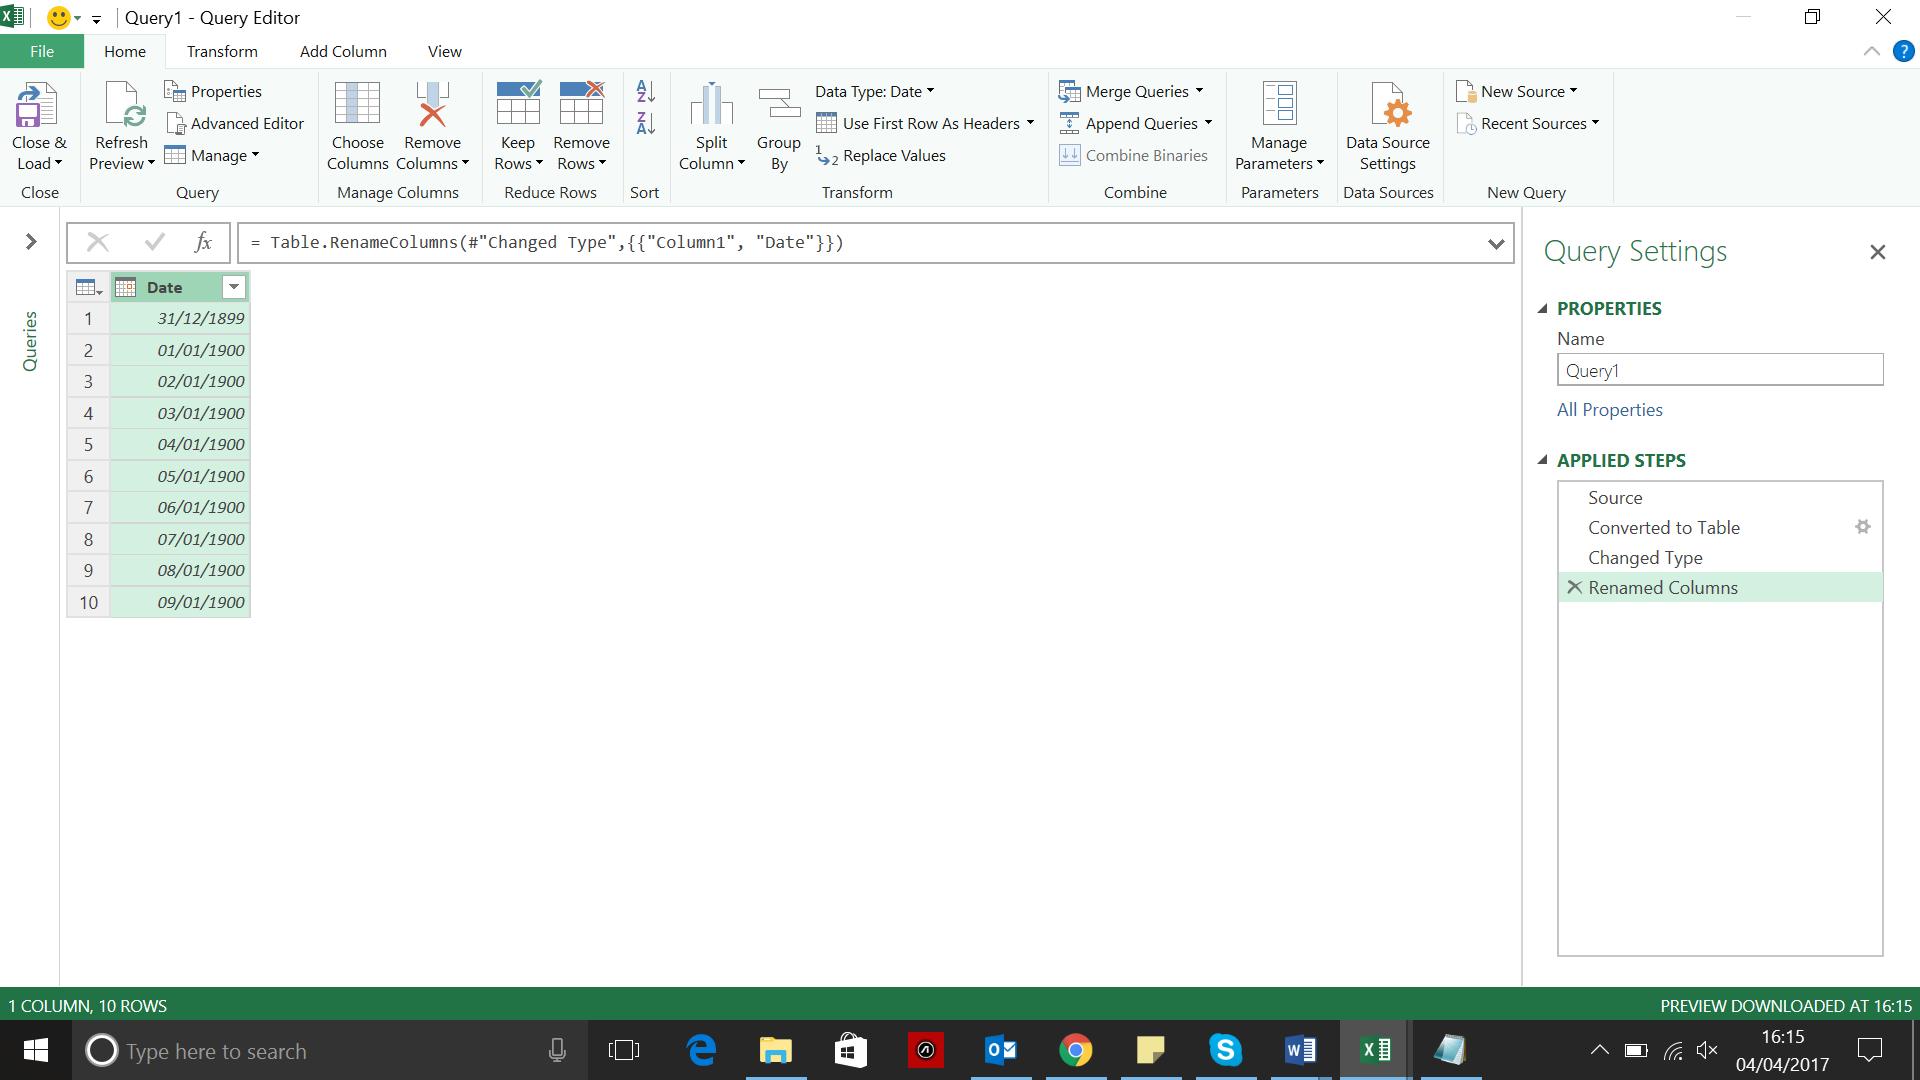
They may not be current, but they are dates! Now I need my parameters.
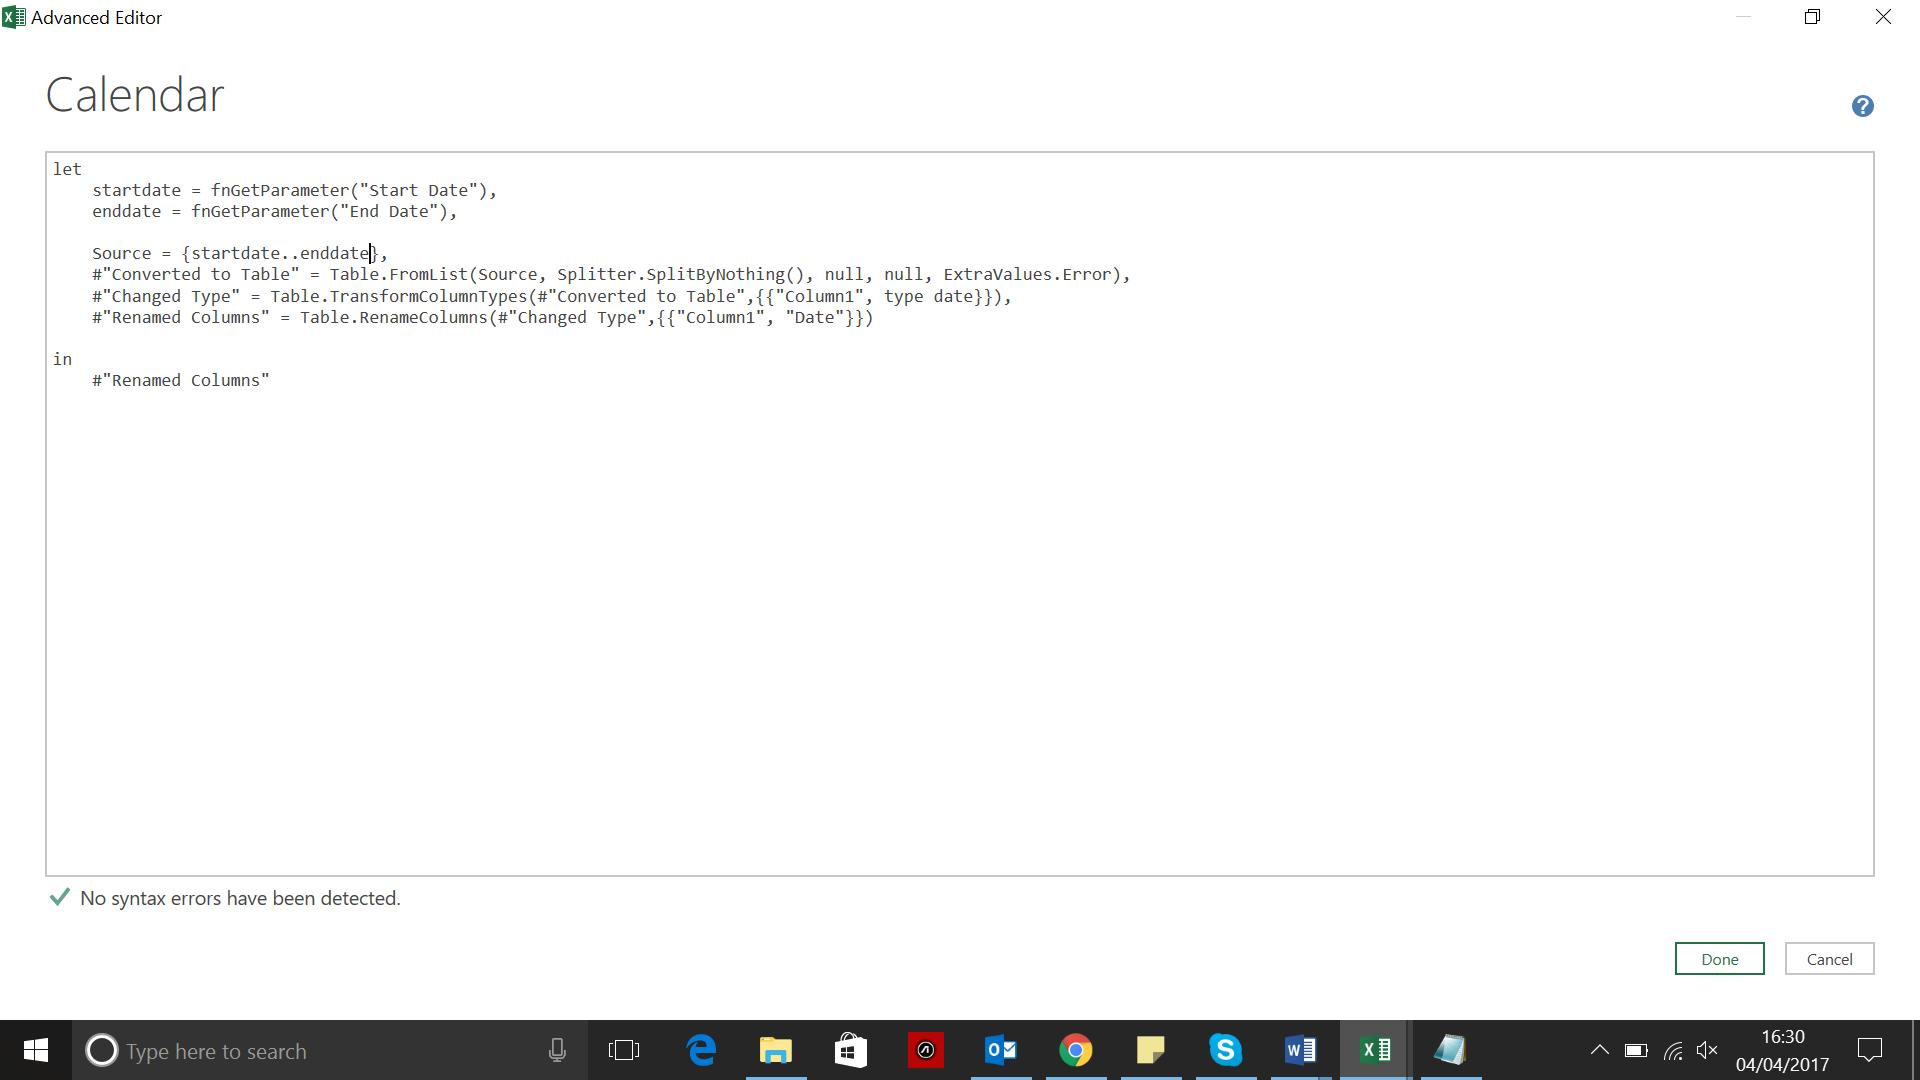
I choose the ‘Advanced Editor’ from the ‘Home’ section. The editor shows the lines already created as a result of the transforming I have done. The ‘Source’ step currently shows my original list of 10 numbers: I need to change the source to look at my parameters instead of 1 and 10. Therefore, after ‘let’ and before the ‘Source’ line, I need to add my parameters, which I will call startdate and enddate thus:
startdate = fnGetParameter(“Start Date”),
enddate = fnGetParameter(“End Date”),
However, if I try this I get the following error:
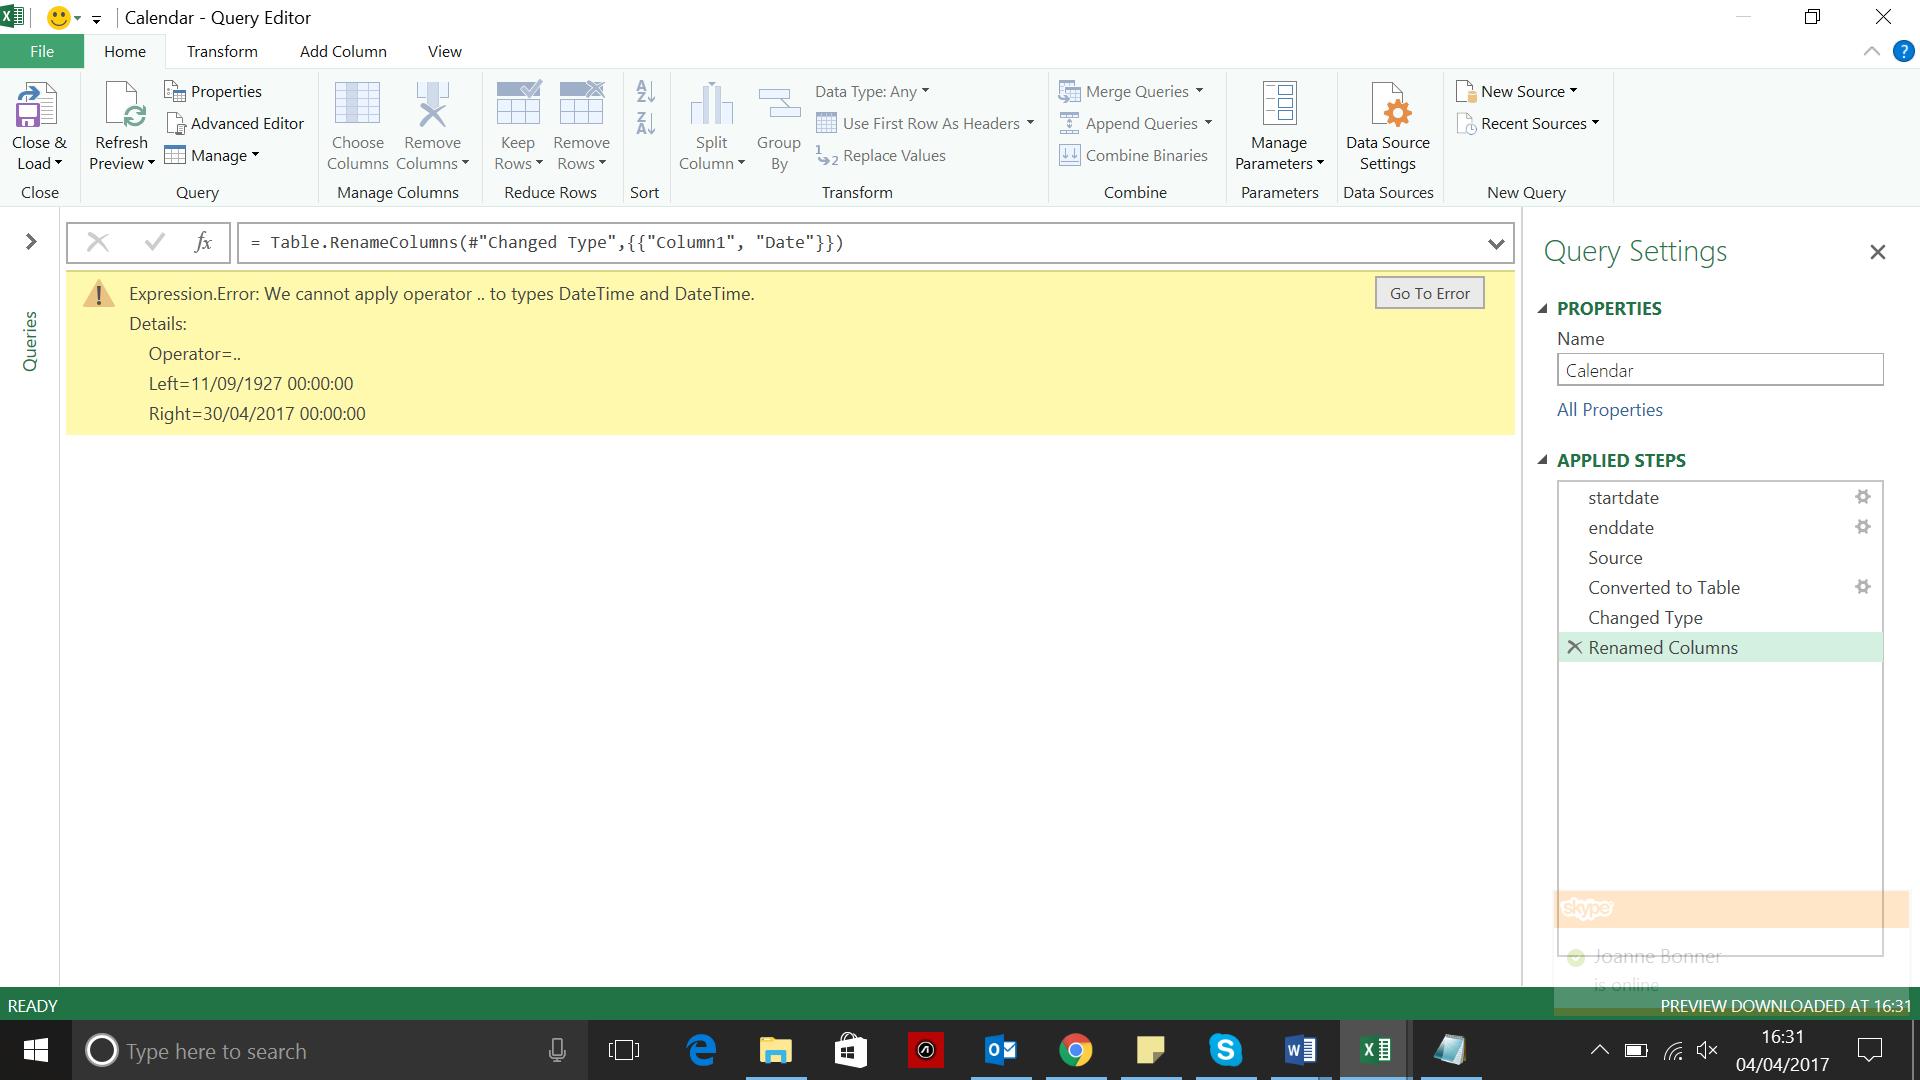
This is because I started with a list of numbers and then I tried to use dates instead. I need to express the dates as numbers, so I need to use the Number.From function:
startdate = Number.From(fnGetParameter(“Start Date”)),
enddate = Number.From(fnGetParameter(“End Date”)),
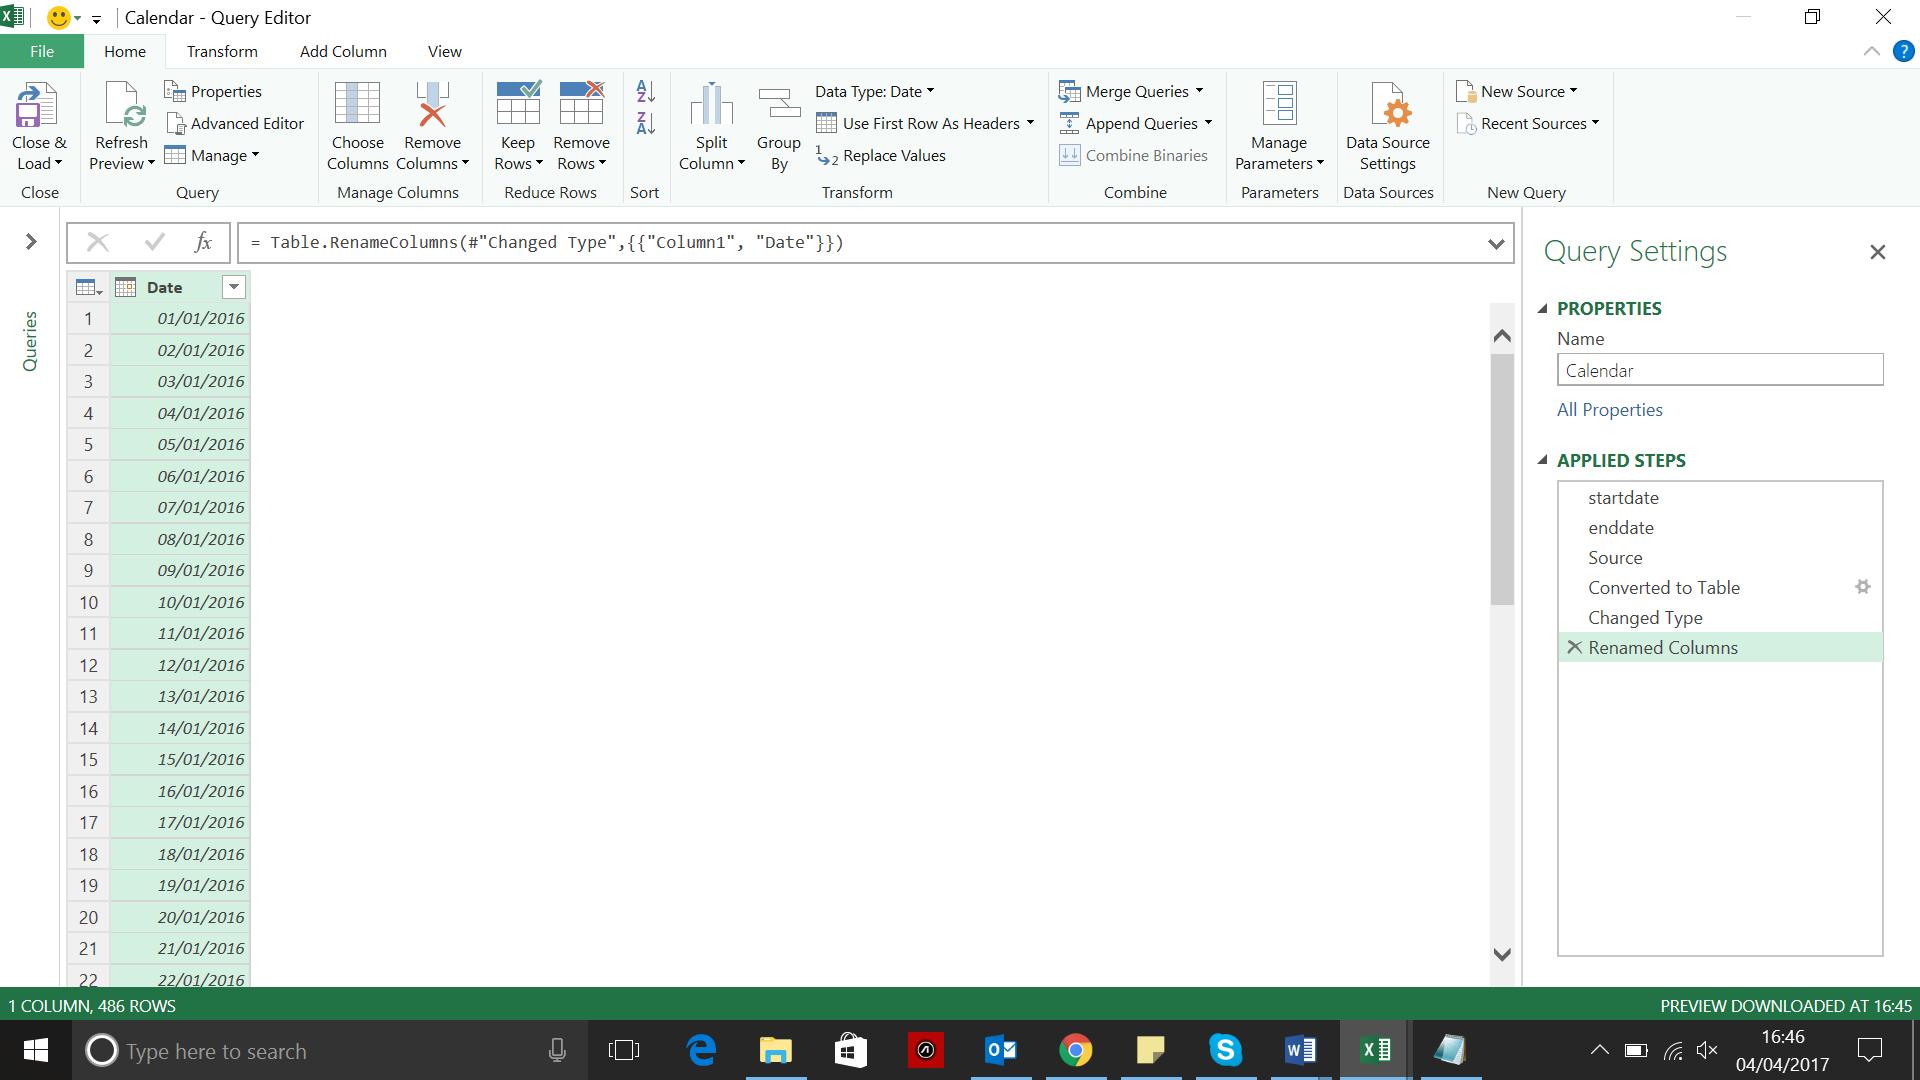
When I use these definitions instead, my query returns a column of dates:
Adding More Date Columns
Although I have a calendar, it is a very basic calendar. A few more columns would be useful. For this, I am going to repeatedly use the ‘Date’ section of the ‘Add Column’ tab and use the options that are shown on the dropdown below:
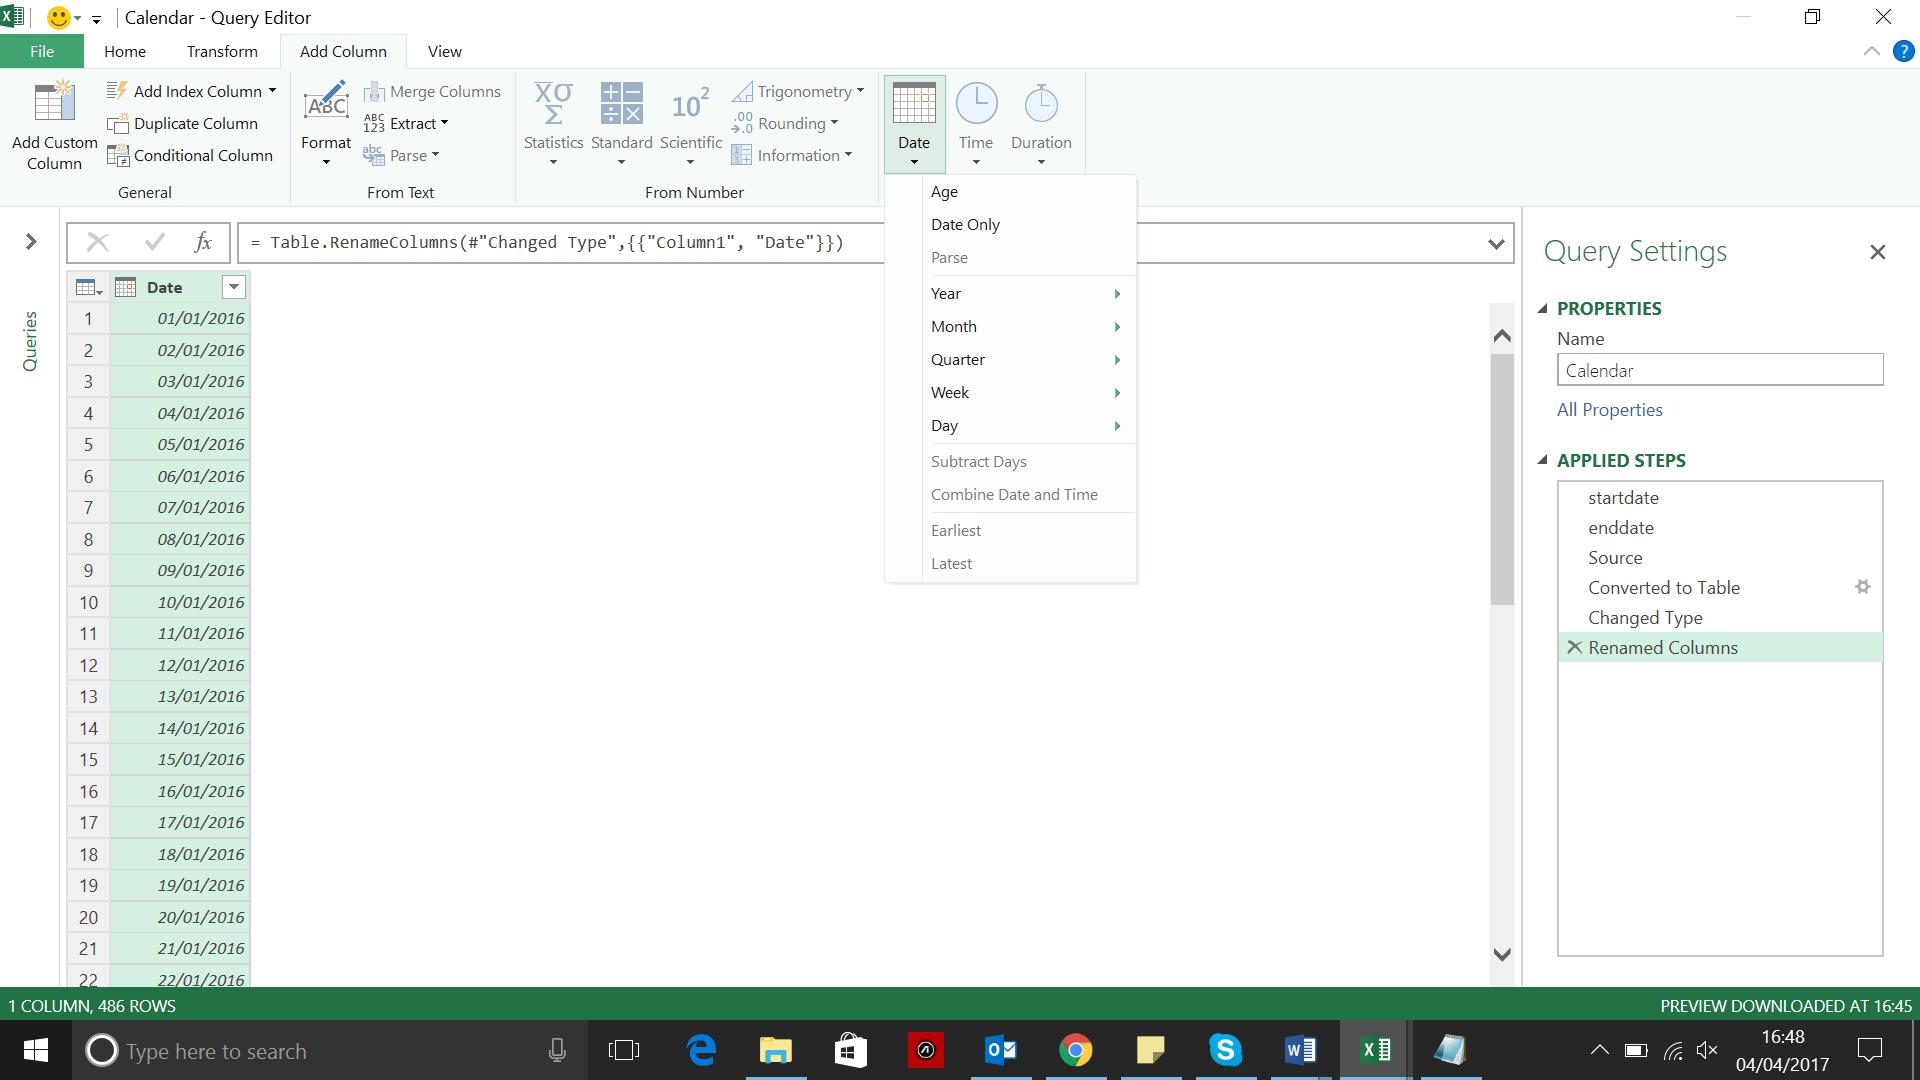
I choose to add the ‘Year’, ‘Month’, ‘Day’ and ‘Quarter (of Year)’ options.
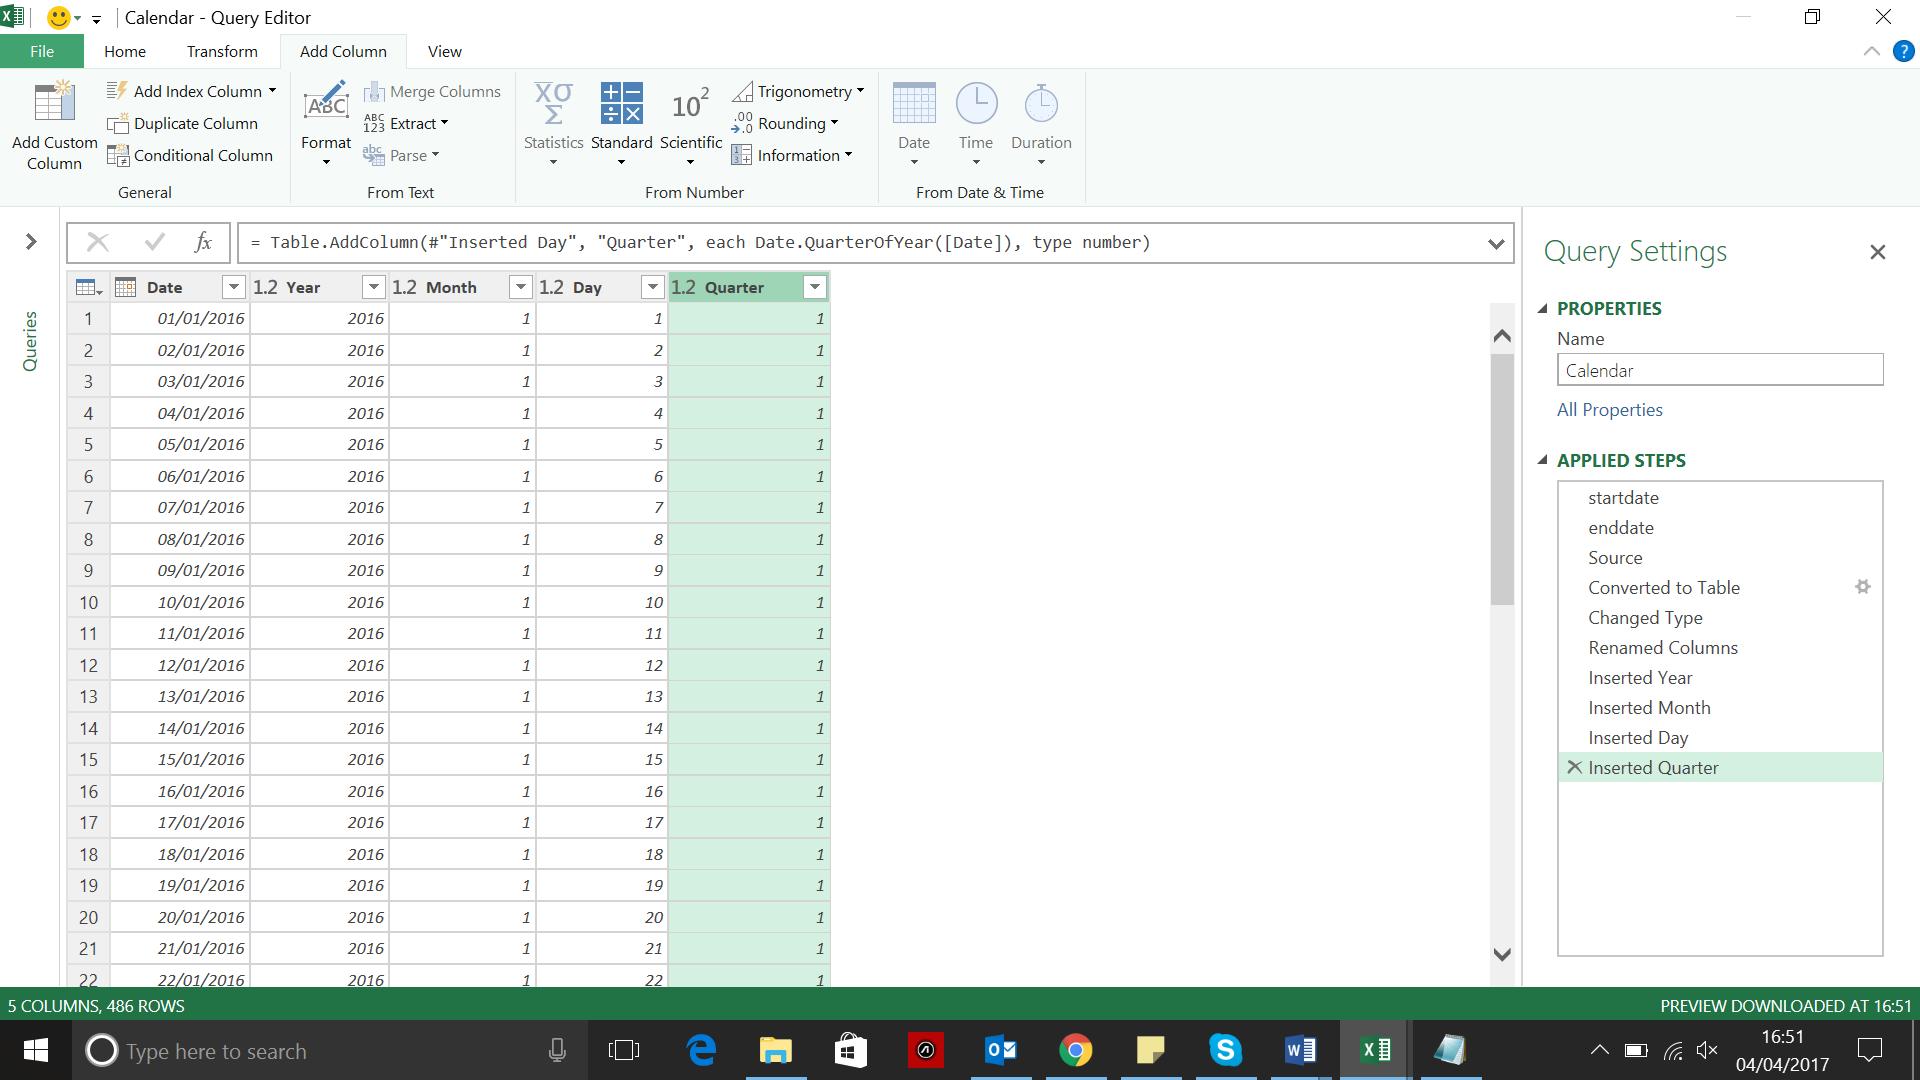
On the ‘Home’ tab, I then choose to ‘Close and Load’ to see that all the Calendar entries have been created as I expected. The entries automatically appear in a separate sheet to my Parameters table:
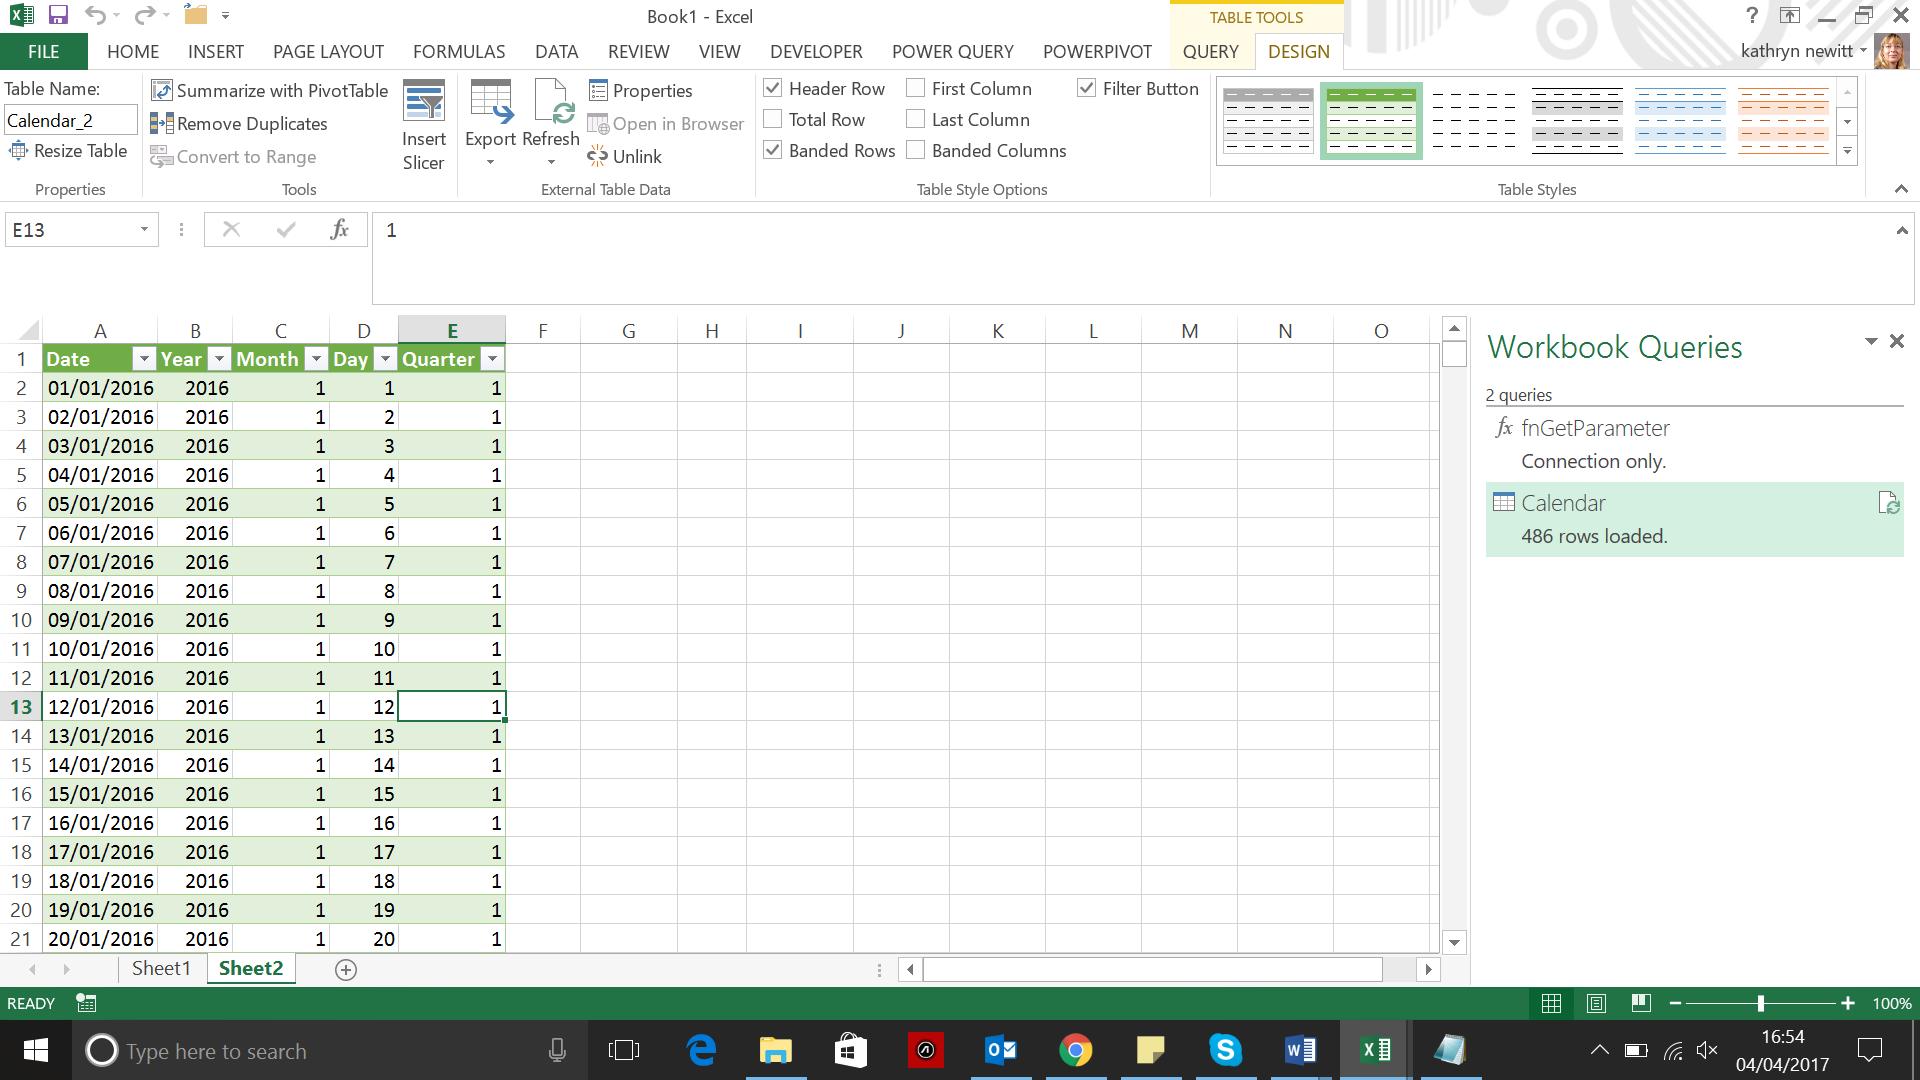
My calendar is ready for use.
Want to read more about Power Query? A complete list of all our Power Query blogs can be found here. Come back next time for more ways to use Power Query!