
Power Query: Revision Time – Part 1
10 April 2024
Welcome to our Power Query blog. Today, I begin to create a refreshable revision timetable by extracting the inputs.
As my salespeople take a well-earned break, many students here in the UK are preparing for exams in the summer. To help my own offspring get organised, I volunteered to create a refreshable printable revision timetable. This is the result:

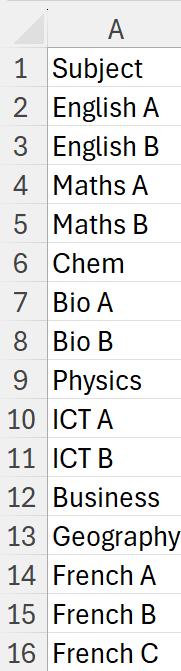
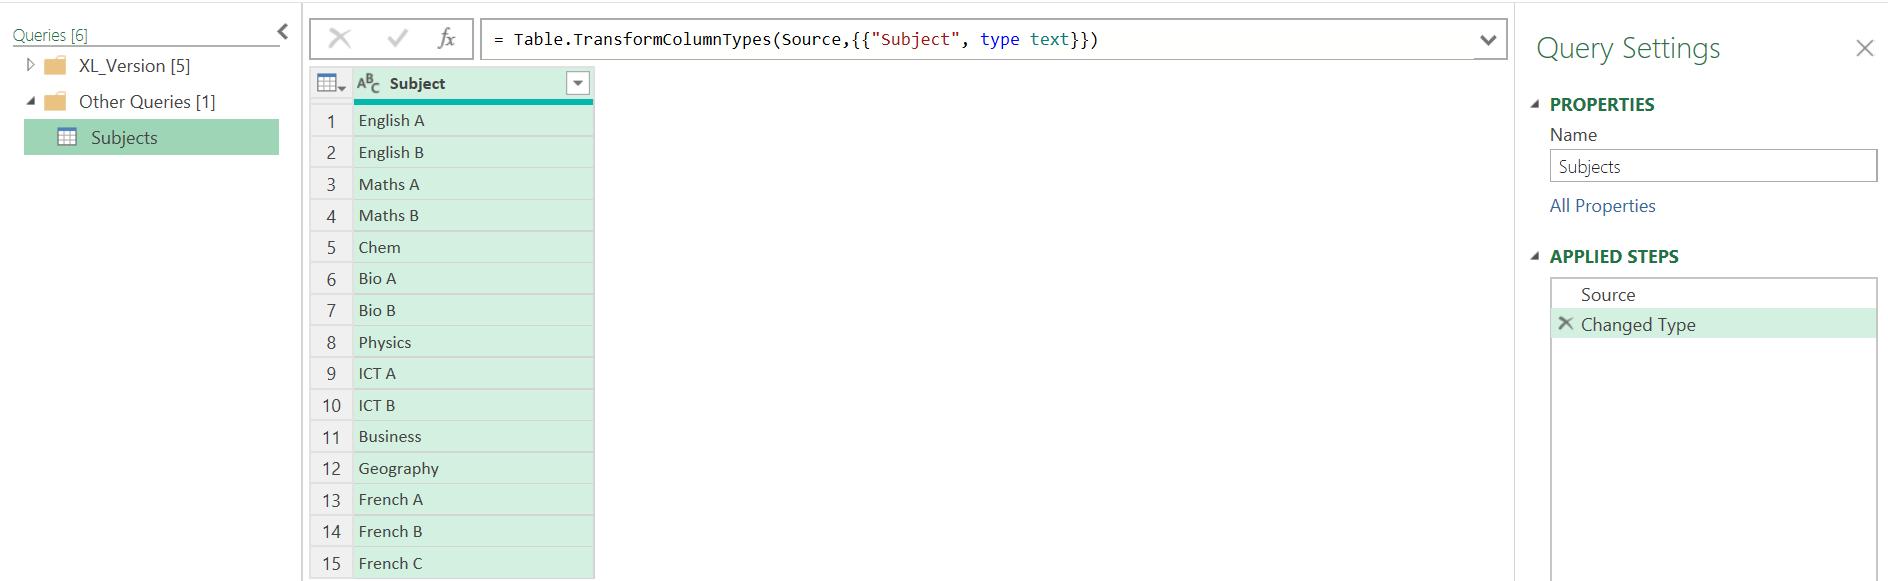
Let’s have a look at what I put together. I started off with the inputs. I needed a list of topics, and to begin with, I created extra entries for topics that required more timeslots:
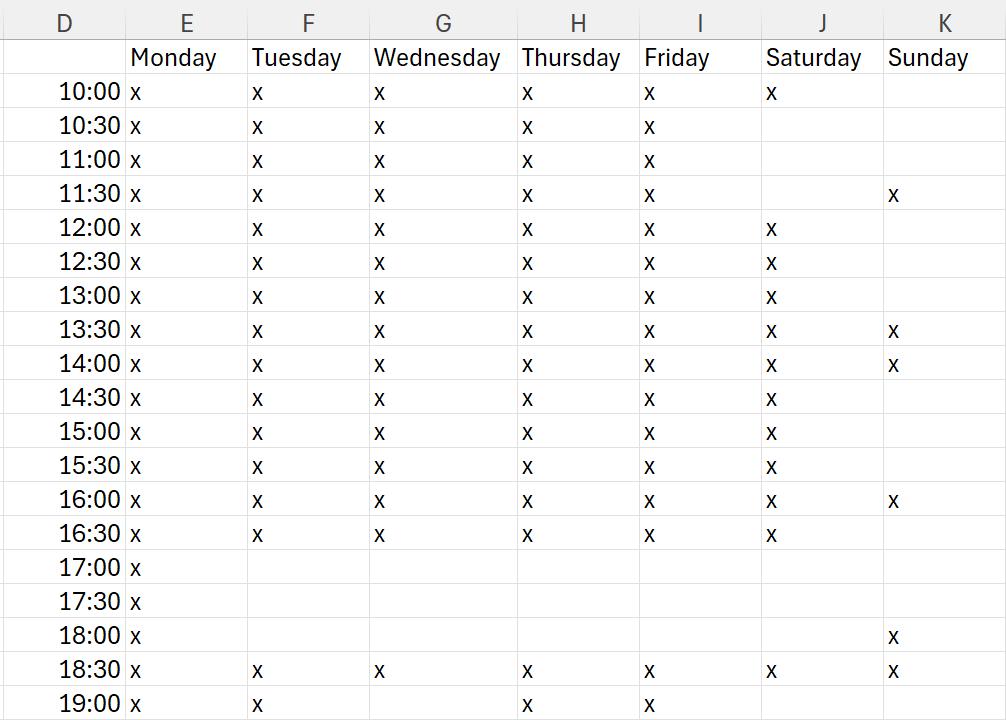
We agreed on half-hourly slots, and I created a grid so that my daughter could indicate the slots that she wouldn’t be able to revise.
When I first designed the solution, I included some Excel functions, but since this is a Power Query blog, I will ensure that I only use Power Query functions (apart from some formatting at the end!).
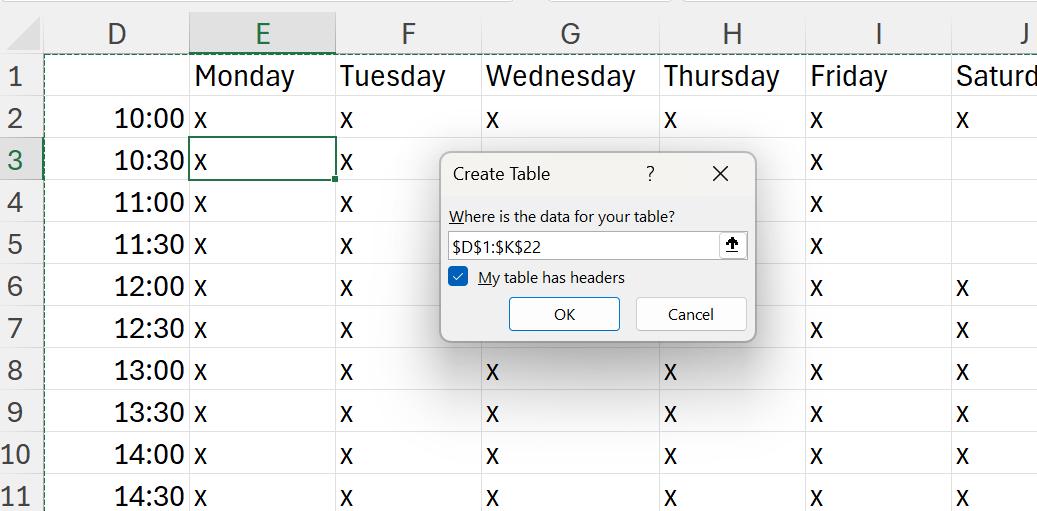
Before I extract my data, I am going to convert it into two [2] Tables, which will allow me to name the Tables before I extract them. I may use ‘Convert to Table’ from the Insert tab, or CTRL + T. In each case, I check the regions and indicate that my Tables will have headers.
I name the Tables Subjects and Availability respectively.
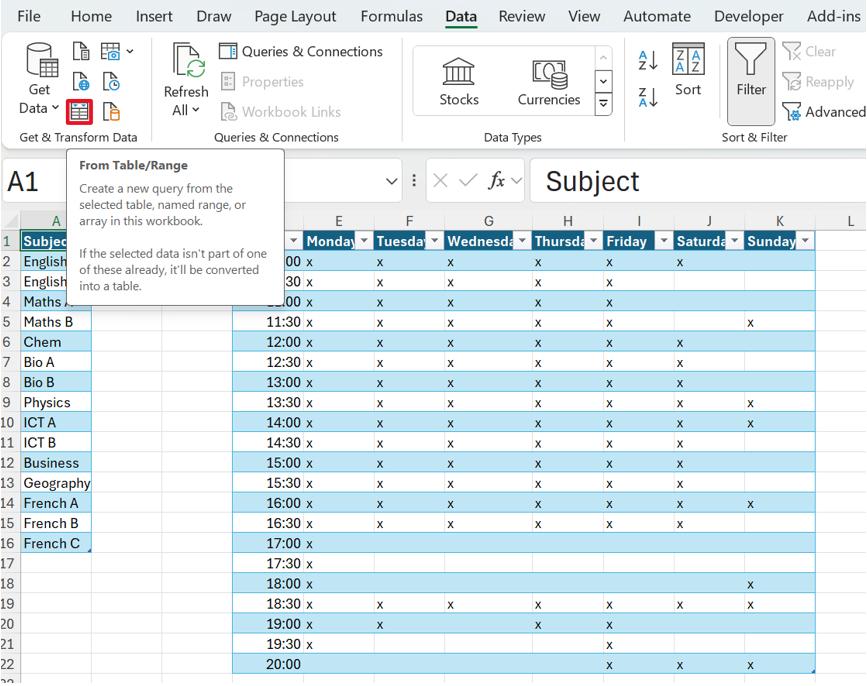
Next, I click somewhere in the Subjects table, and on the ‘Get & Transform Data’ section of the Data tab, I choose to extract data ‘From Table/Range’. I use the icon indicated in my version of Excel: yours might look slightly different.
In the Power Query editor, I see the query Subjects. Note that another benefit of converting the data to a Table before I extracted it, is that it is extracted as a Table and not a list.
I could go back to the workbook and repeat this process for the other Table, but instead I will take a duplicate copy of the Subjects query:
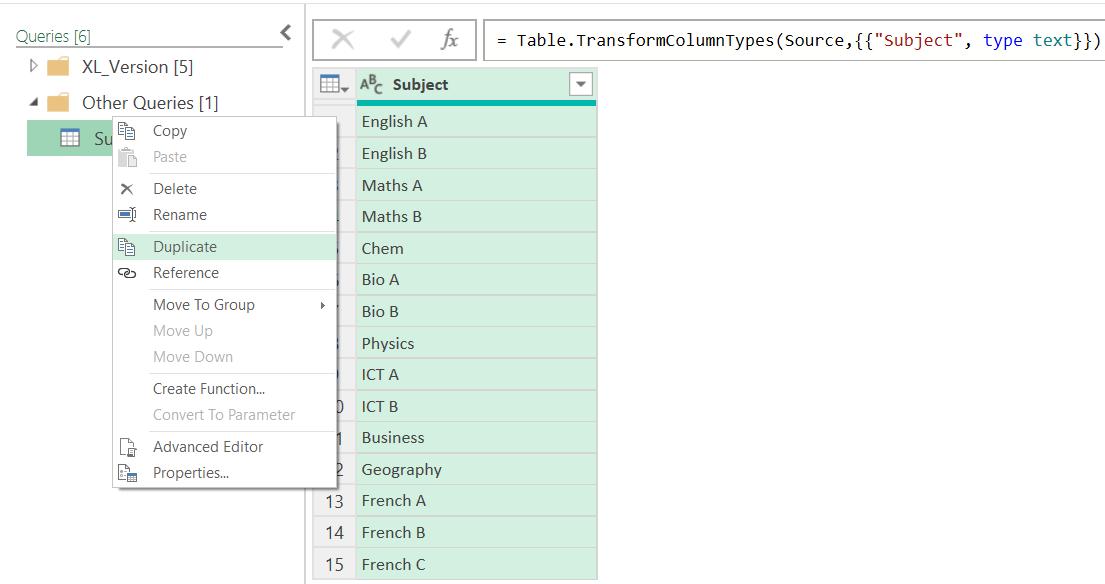
I call the new query Availability:
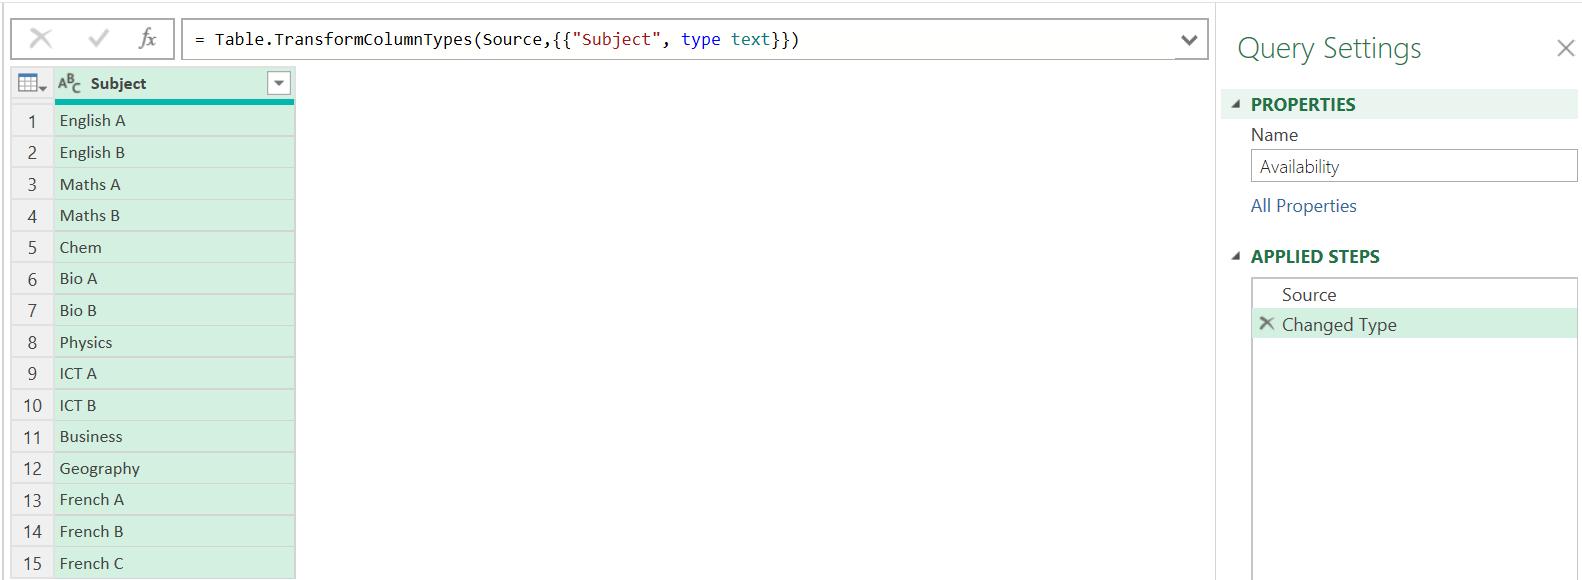
I delete the ‘Changed Type’ step, and look at the Source step:
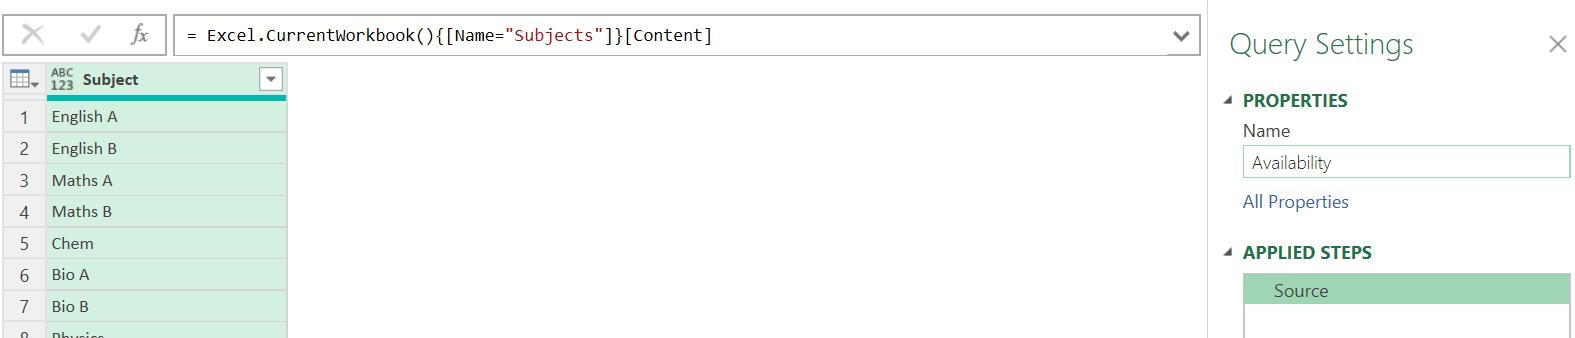
The M code is:
= Excel.CurrentWorkbook(){[Name="Subjects"]}[Content]
If I change the Name parameter to ‘Availability’, I will pick up the second Table:

Since I have chosen to detect types in the settings, another ‘Changed Type’ step has been generated, but I clearly need to change Column1:
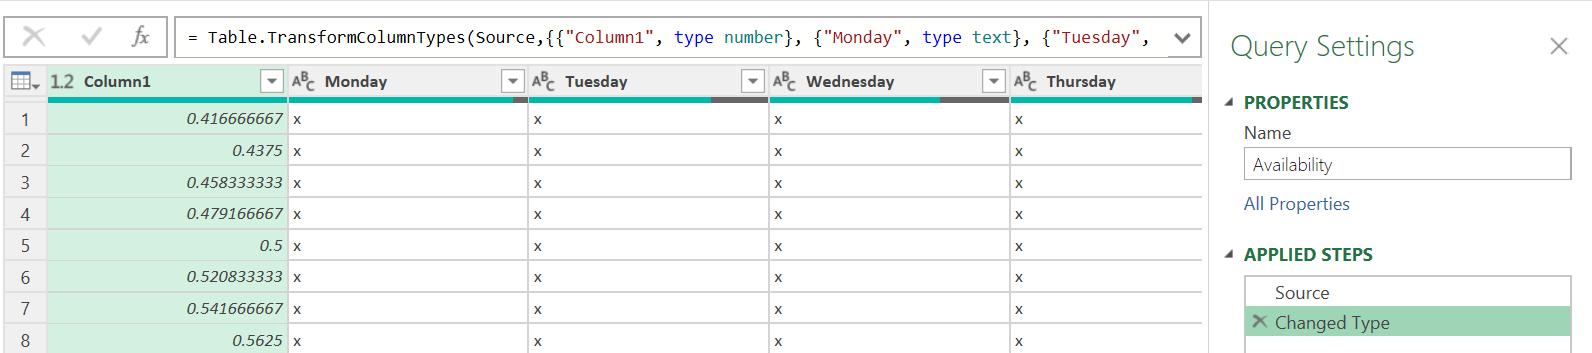
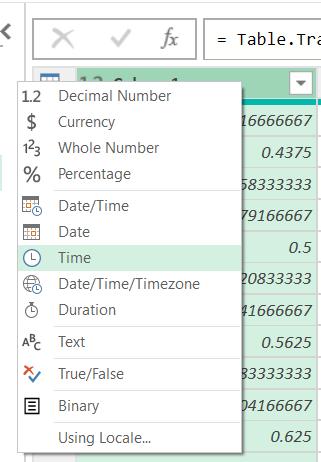
Since I know this is a time, I change the data type to time by clicking on the number icon in the heading:
I am prompted to include this transformation in the existing ‘Changed Type’ step:
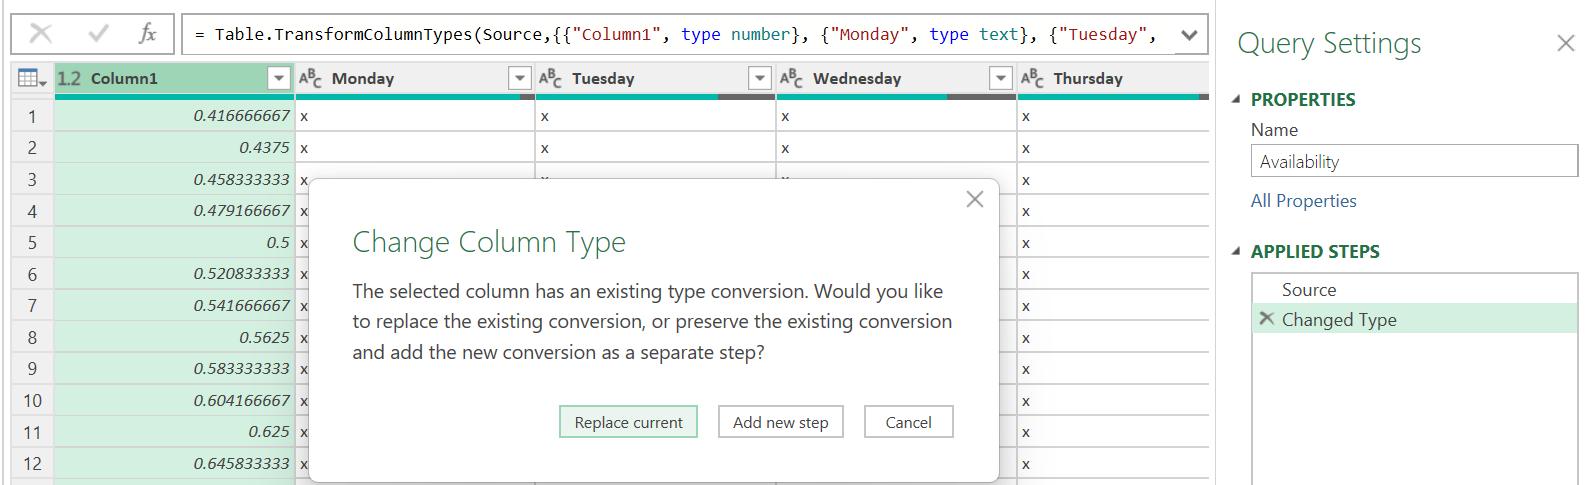
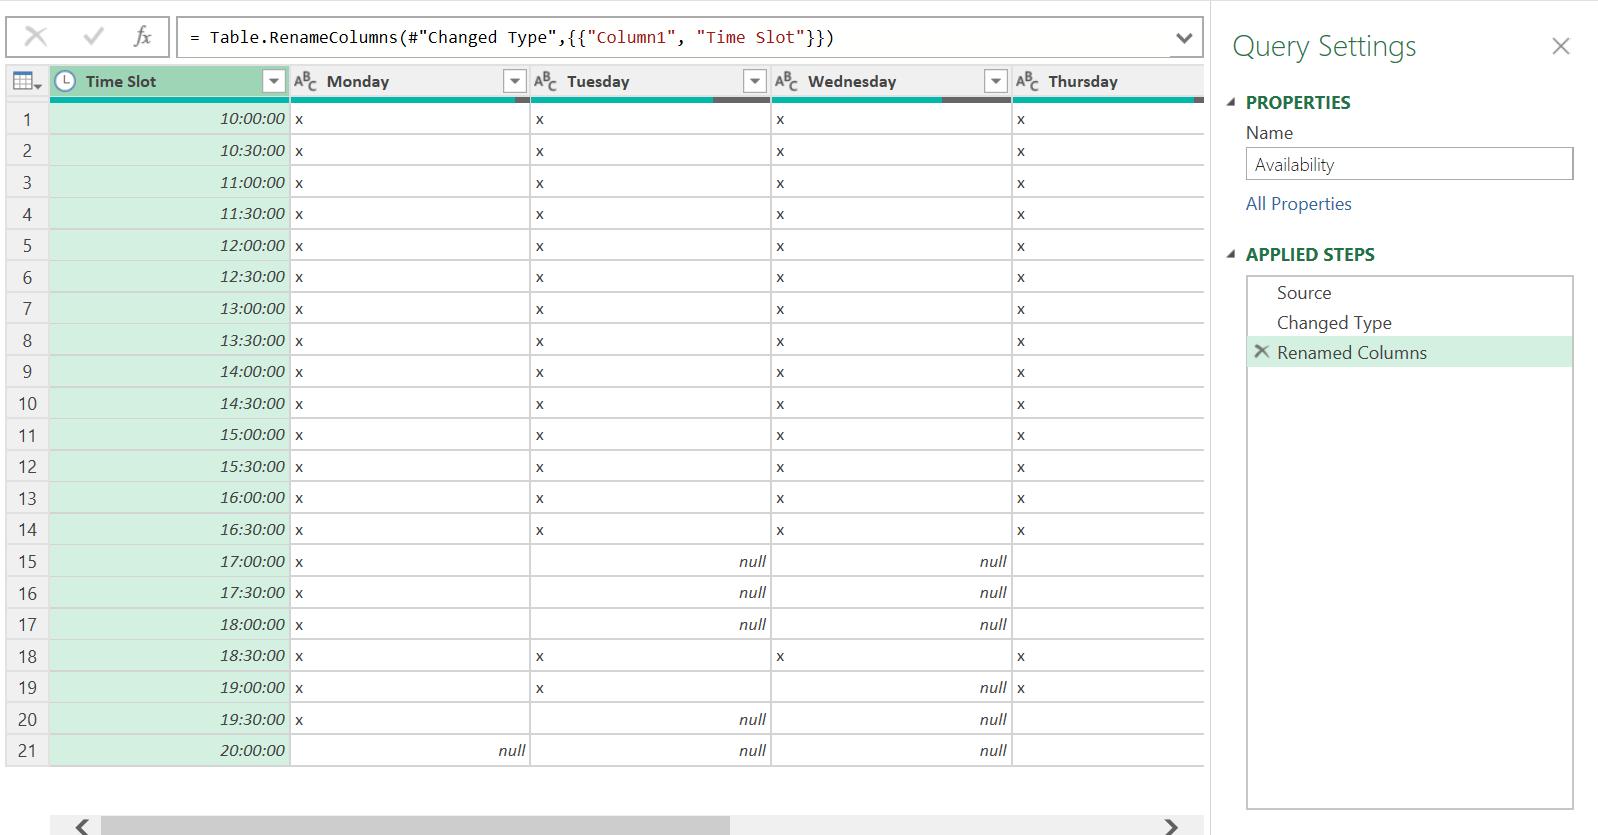
I click ‘Replace current’ and rename Column1. My data is ready to be transformed next week:
Come back next time for more ways to use Power Query!