
Power Query: Split Folder Part 2
9 April 2025
Welcome to our Power Query blog. This week, I begin to transform the data for the file type queries.
I have covered the topic of getting files from a folder in several blogs; the latest series was Excel Files from a Folder Fiddle. In this series, I will look at how I may extract files from a folder, where some of the files require different transformations to others. The folder shown below contains expense data for May 2024, but not all formats are the same:
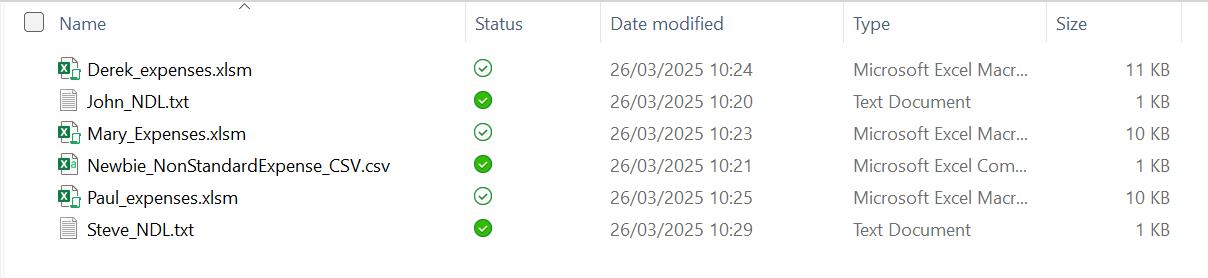
My task is to transform all the data and append into a single output Table.
Last time, I used the ‘From Folder’ connector to extract data from the folder and transformed and filtered the data to ensure I only had the expense data.

I took three [3] reference copies of Folder Filtered, one for each file type:

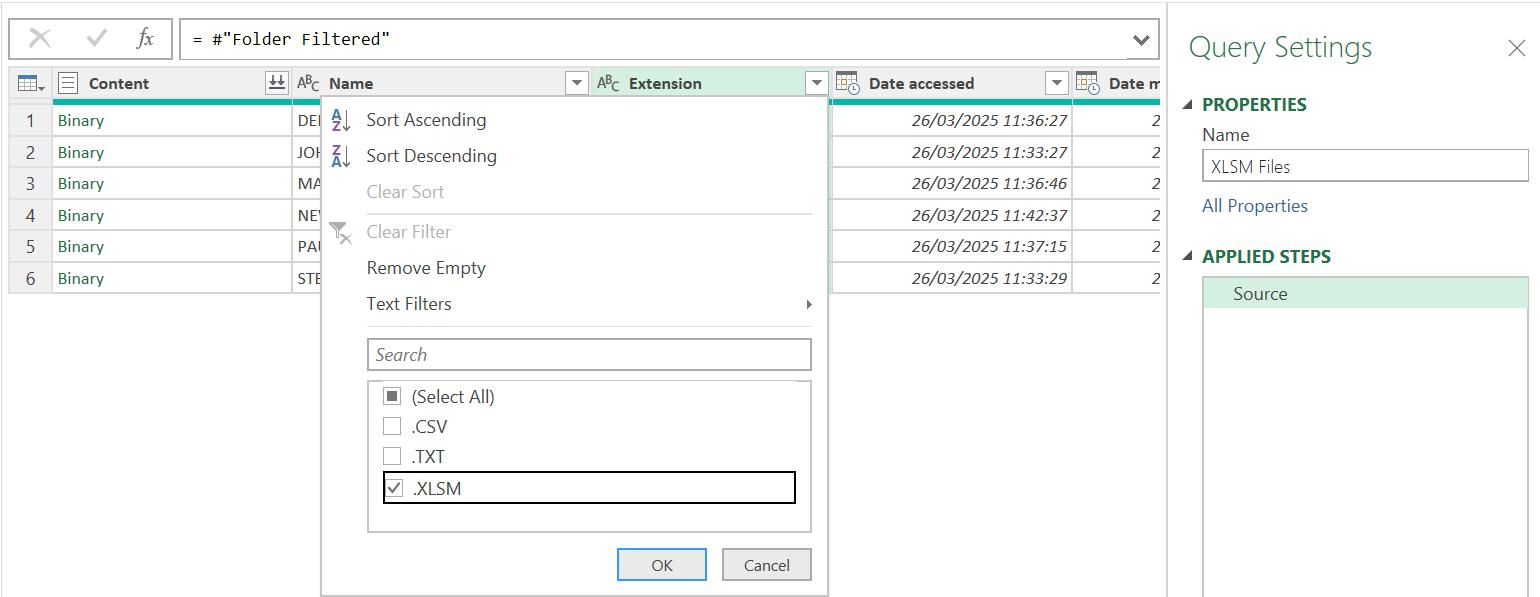
This time, I will transform the data in these new queries. Since I have already filtered to keep only those files associated with expenses, I begin by filtering on the Extension column. I will start with the XLSM Files query:
Since the XLSM files all have the same sheet name, I may use the ‘Combine Files’ icon to combine the data:

I use the sheet rather than the Table to ensure that all the files will be accessed:
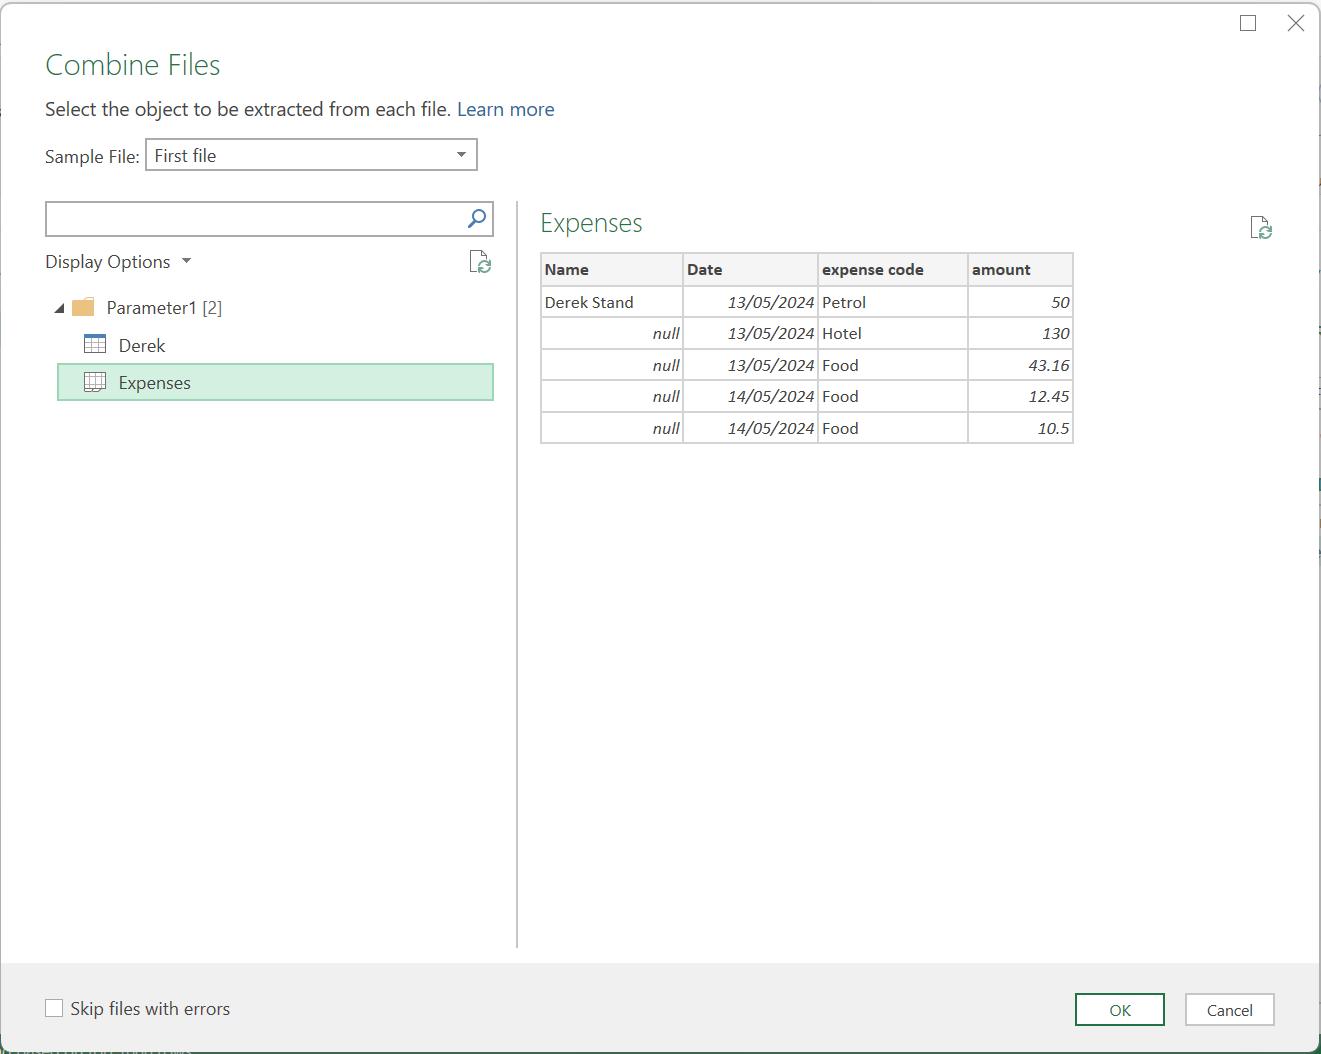
The files in my example only contain one sheet: ‘Expenses’. I click OK to continue:

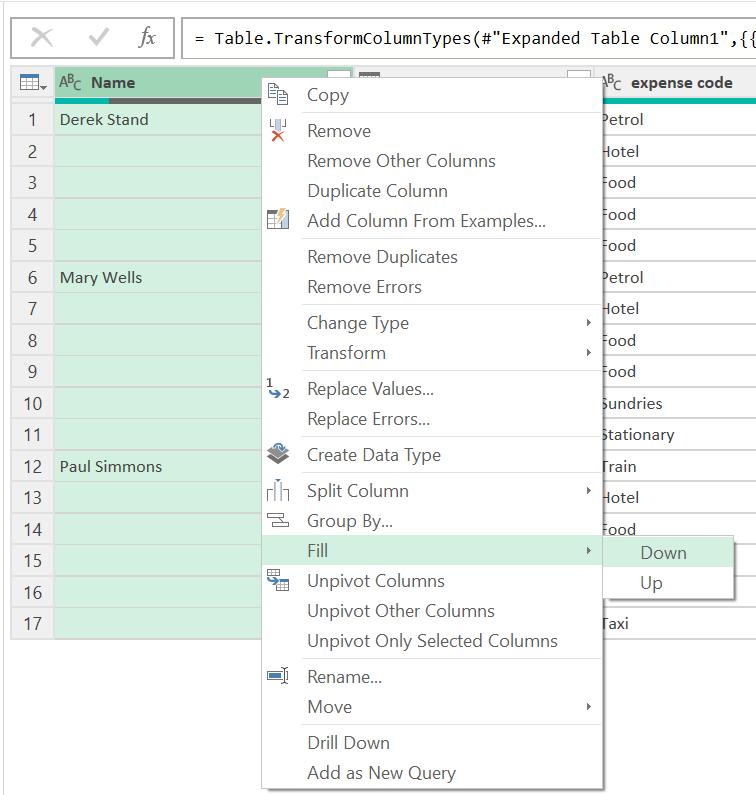
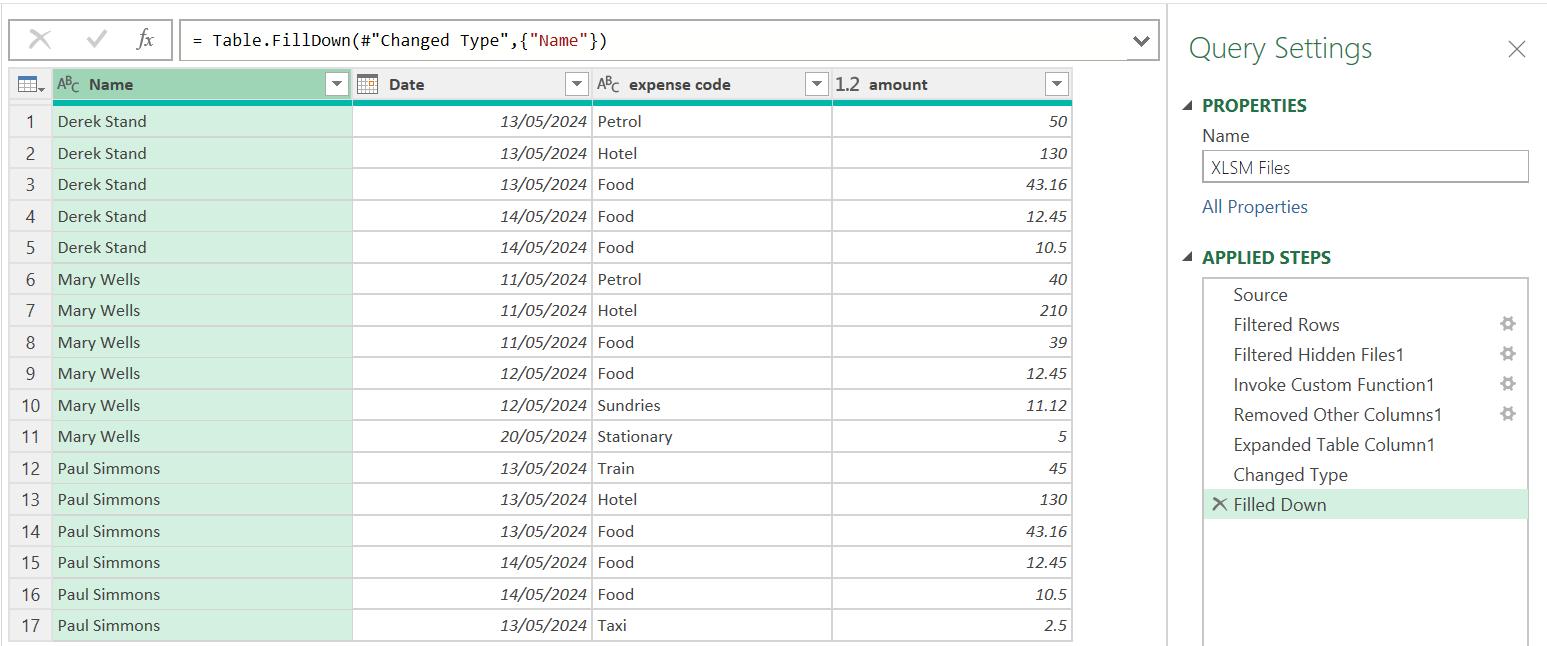
The algorithms create the Transform File from XLSM Files folder, containing the helper queries and created steps in XLSM Files which have combined the data. I may fill down in the Name column in Transform Sample File or XLSM Files.
The XLSM Files query is complete:
I repeat the combine process for TXT Files:

For this example, it makes more sense for me to apply the transformations to Transform Sample File (2). To make the process clearer, I rename the helper files to reflect the file type:

Note that, although the value in brackets doesn’t change to reflect the new name, the parameters do reference the correct files. This is a bug!
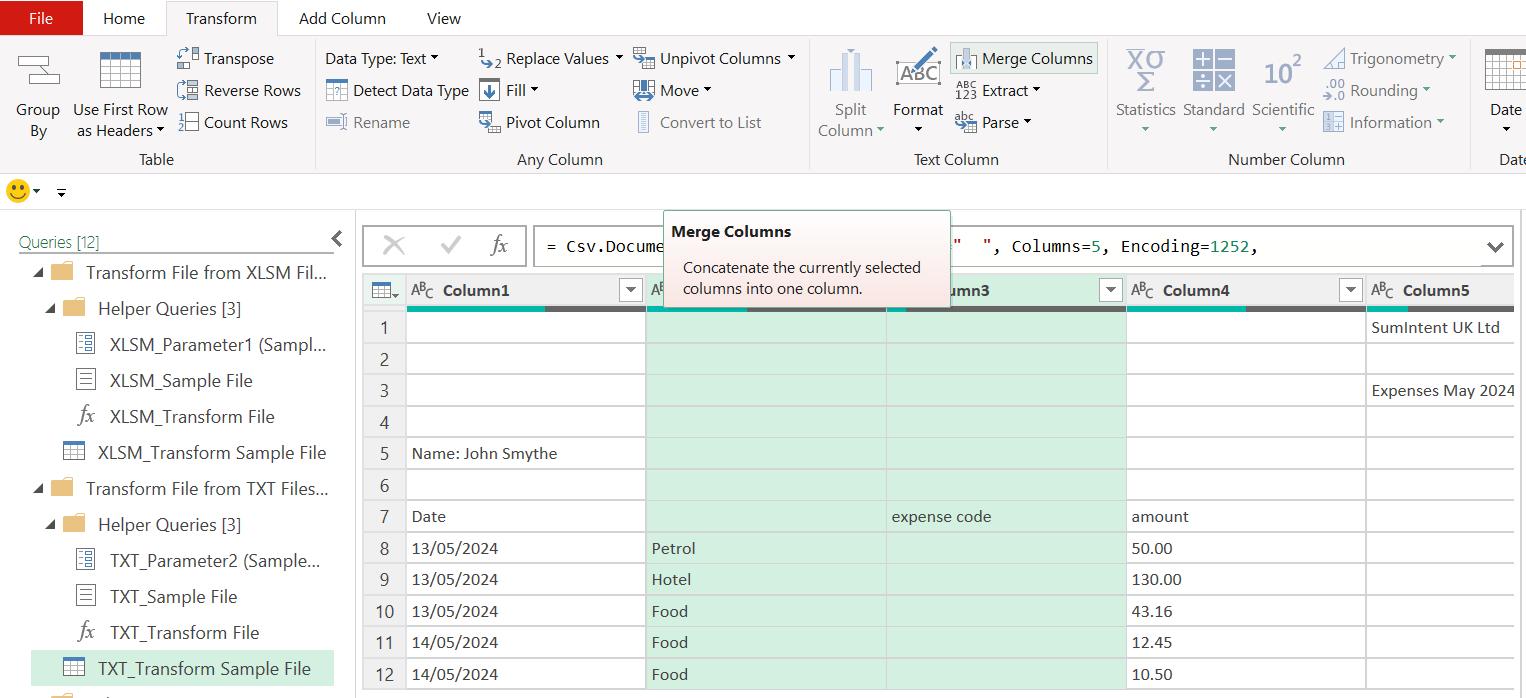
I may now make my changes to TXT_Transform Sample File. I begin by merging Column2 and Column3 to get the expense title and data into the same column:
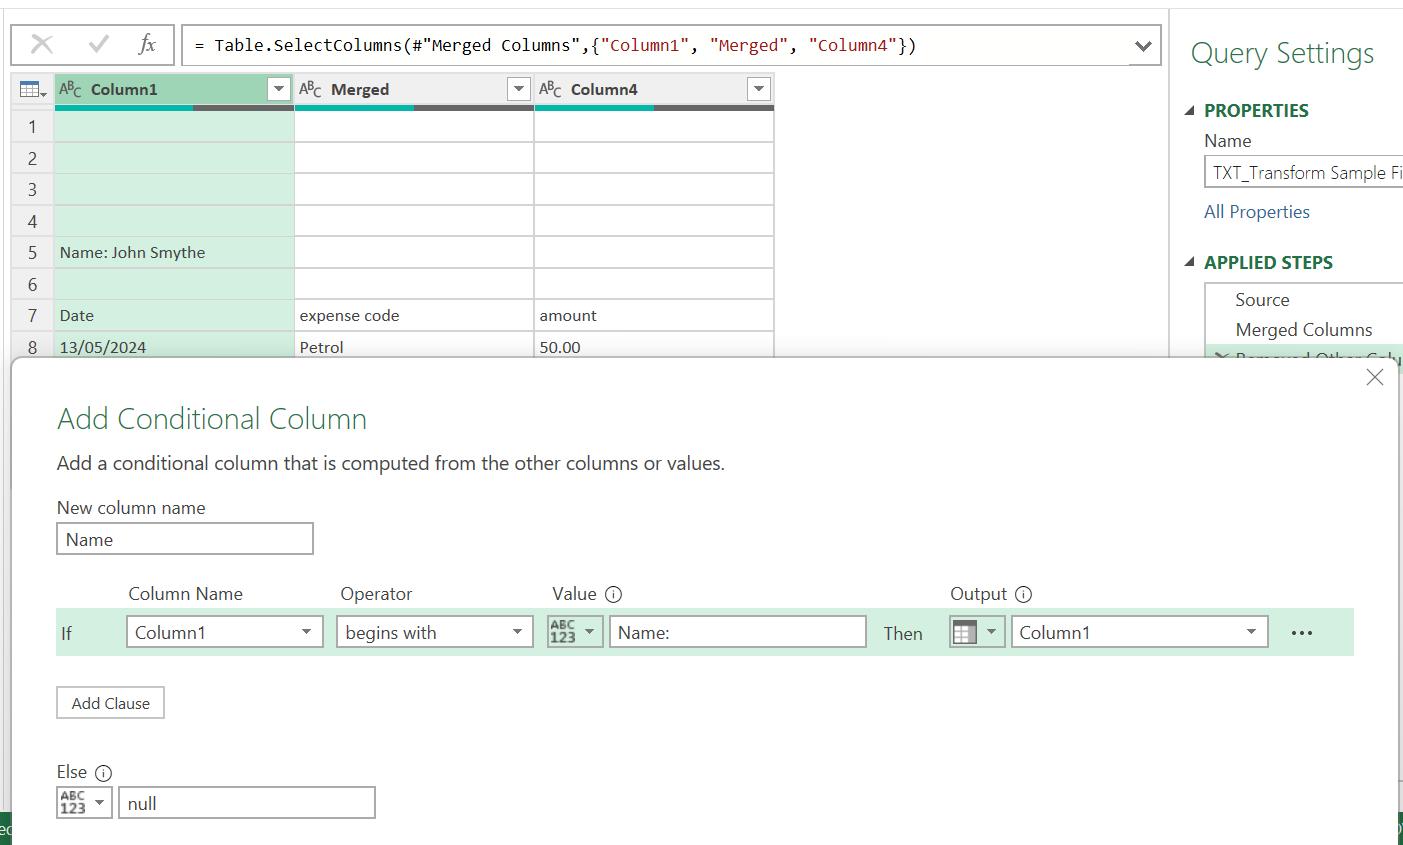
I would like to keep the columns I need by selecting them and choosing to ‘Remove Other Columns’.

I now need to create a ‘Conditional Column’ from the ‘Add Column’ tab:
I fill down on the Name column:
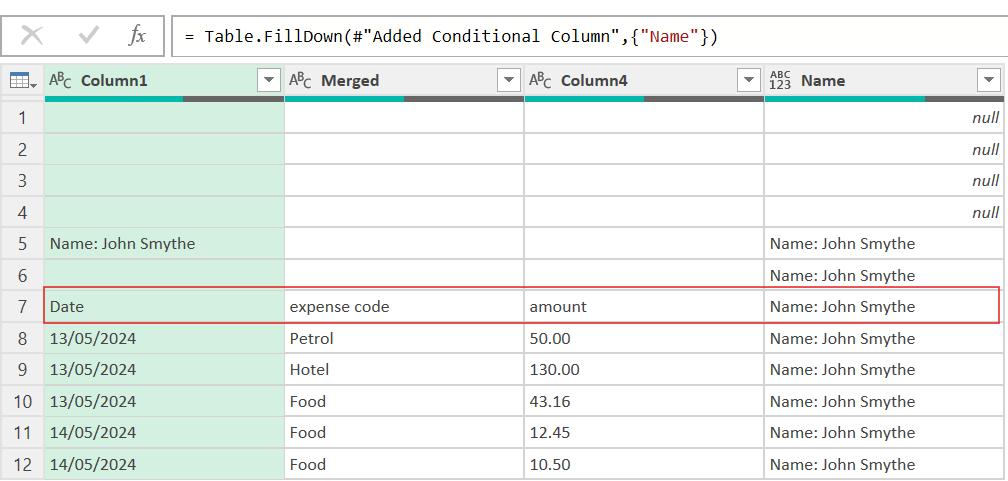
Row 7 will eventually be the column headers. I must avoid having a column name featuring “John Smythe” as it would appear in a rename step, and this will not exist for the other expense files. I need another conditional column:
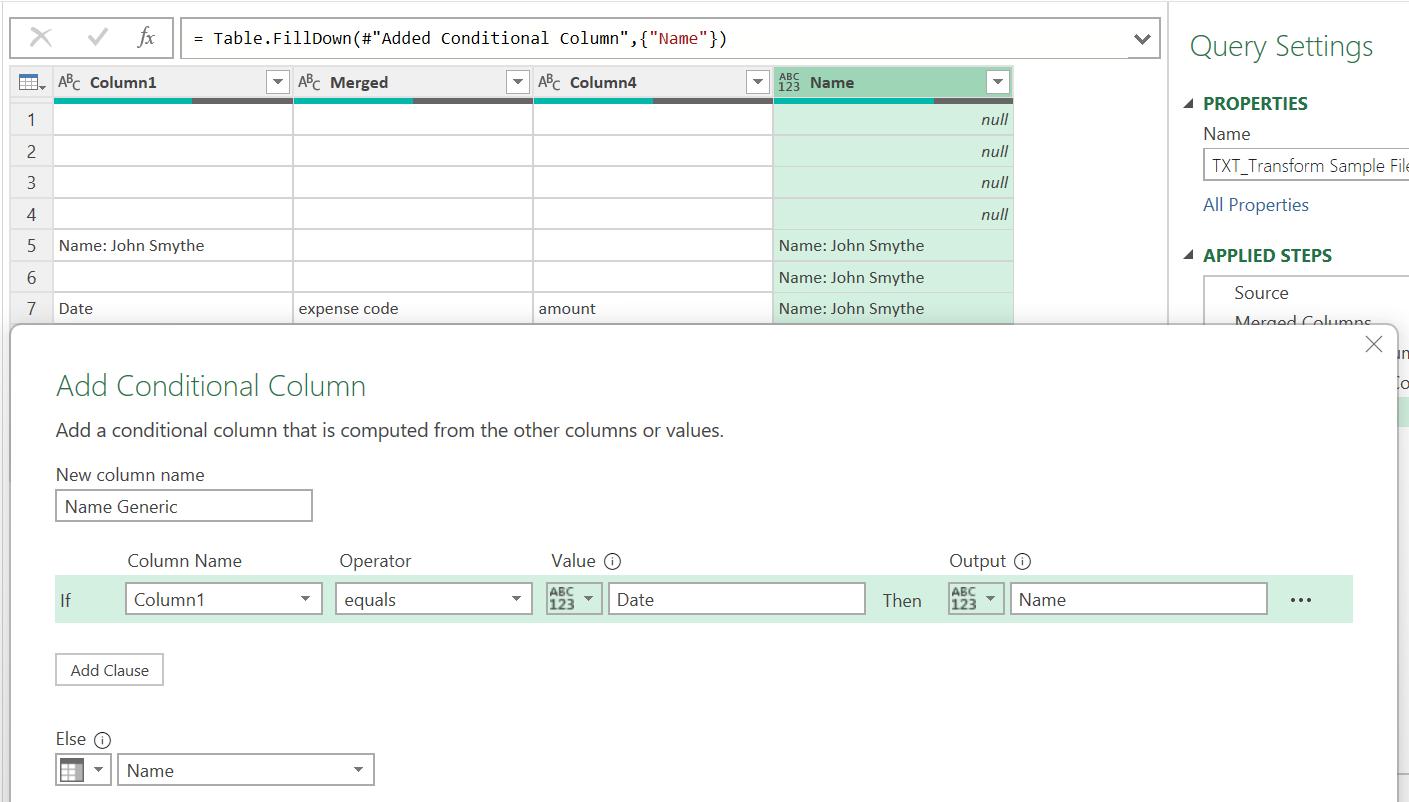
This will set the value in Name Generic to the text “Name” for the row containing the headings, otherwise it will contain the value in the column Name:
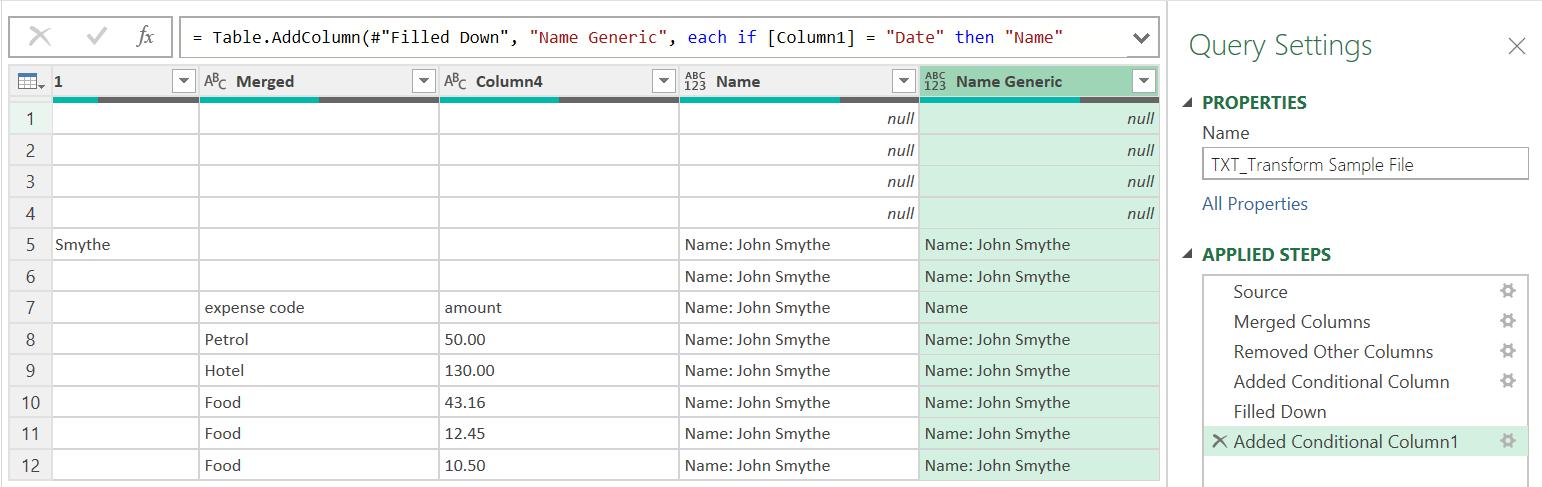
I may now remove the Name column and the first six [6] rows, and promote the first row into the headings:
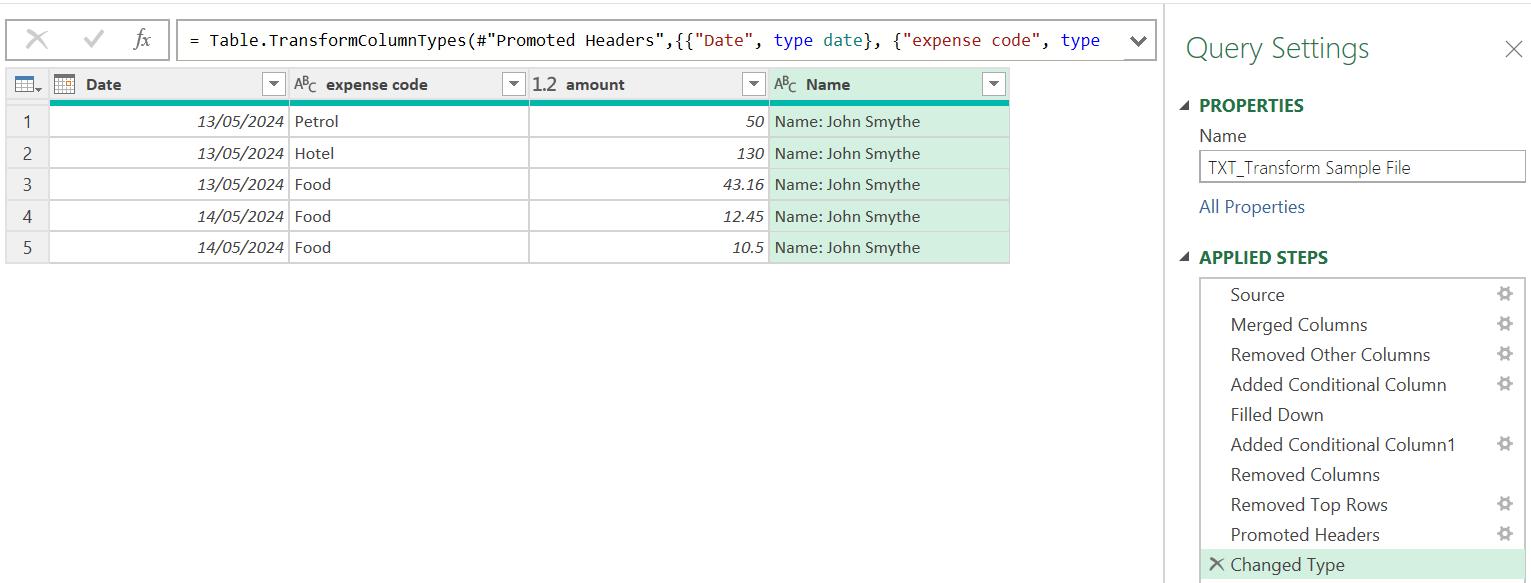
All that remains is to ‘Replace Values’ in the Name column, and replace the string “Name:” with nothing:

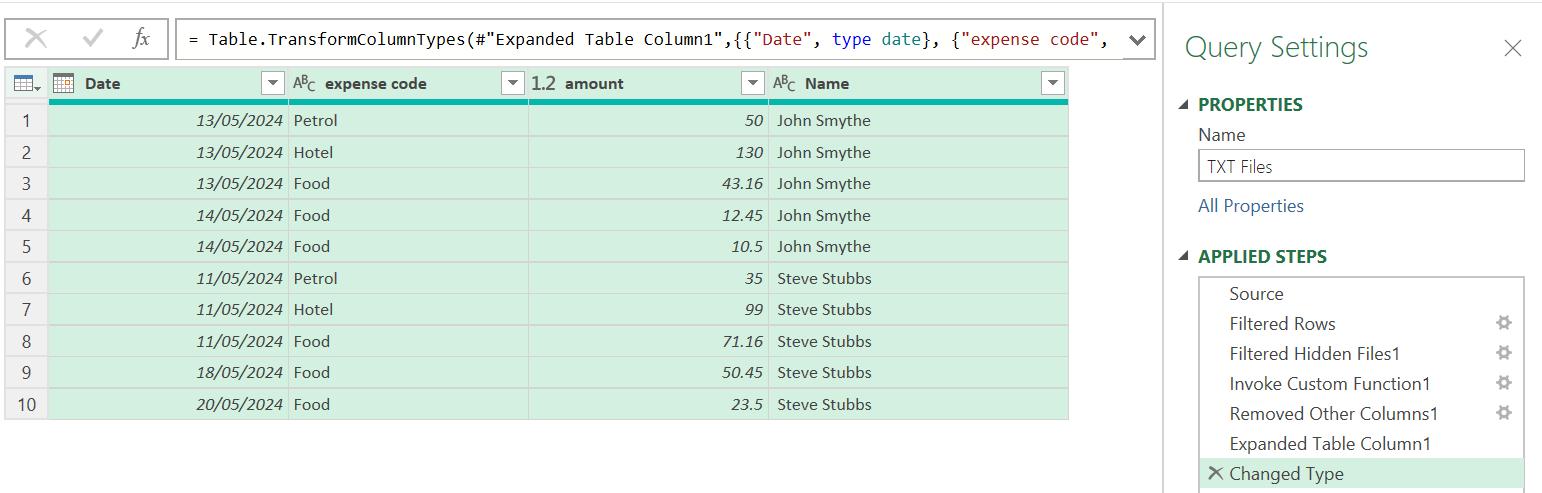
There is a warning sign on the TXT Files query. There is an error:
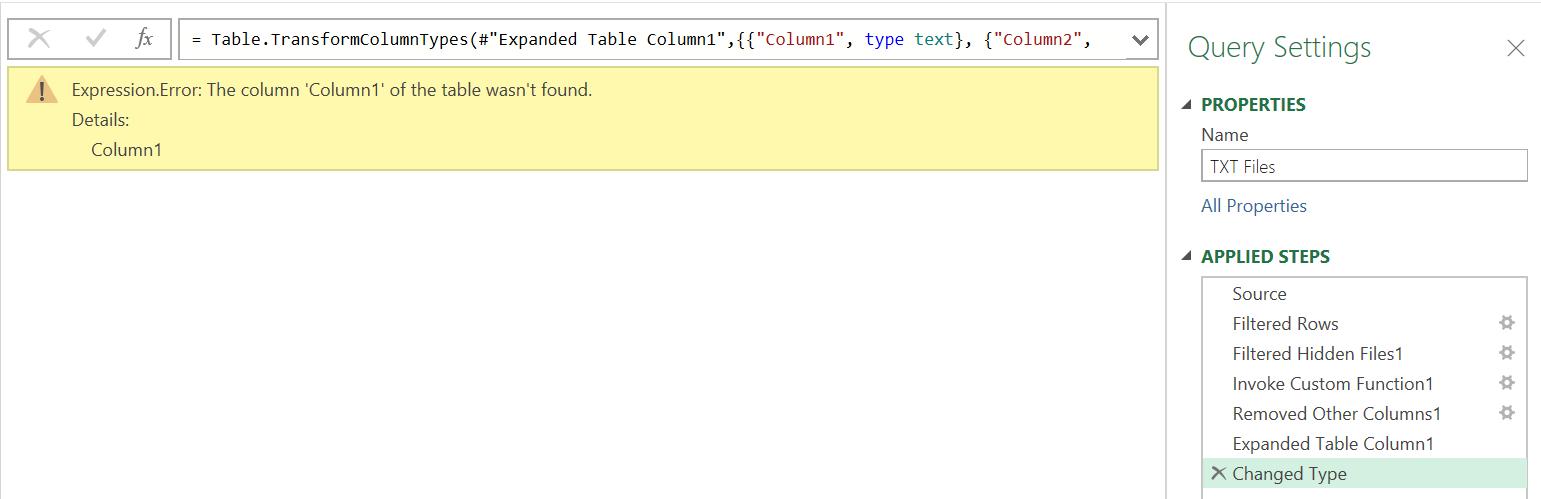
Column1 cannot be found! If I go to the ‘Expanded Table Column1’ step, I can see that there is indeed no Column1. This can be fixed by removing the ‘Changed Type’ step:

I delete the step, select all the columns and ‘Detect Data Type’ from the Transform tab:
My data is ready to append. Next time, I’ll transform CSV Files.
Come back next time for more ways to use Power Query!